
How to Dump RV Tanks: A Clean, Step-by-Step Guide to Black and Gray Tanks

For many new RVers, the dump station is the most intimidating part of RV life. Nobody wants a sewer hose to pop loose or a valve to stick at the wrong moment. The good news is that the process is simple once you know it, and it quickly becomes routine. This guide explains how to dump RV tanks cleanly and safely, from the gear you need and the right order for the RV black tank and gray tank, to flushing, tank treatments, clogs and dump station etiquette.
Last reviewed and updated: September 30, 2026. Written by Jeremy Jarvis.
Key takeaways
- Always dump the RV black tank first and the gray tank second, so soapy gray water rinses the hose.
- Camping World suggests emptying tanks when they reach about two-thirds full, not after every flush.
- Use a dedicated rinse hose, never your drinking water hose, and wear gloves.
- At a busy dump station, dump, rinse quickly and move on; save long tank flushes for when no one is waiting.
The steps below follow Camping World’s holding tank guide and Winnebago’s beginner guide to RV toilets and dump stations, along with practical etiquette tips from RV Life. Every RV is slightly different, so check your owner’s manual for the location of your valves and any built-in flush system.
How RV holding tanks work
Most RVs have three tanks. The fresh water tank holds clean water for drinking, cooking and showers. The gray tank collects used water from sinks and the shower. Finally, the black tank collects everything from the toilet. Winnebago puts it plainly: everything that goes into your toilet goes into your black tank, and you have to watch its level so it never gets too full.
The black and gray tanks drain through a shared outlet under the RV, with a separate valve handle for each tank. You connect a sewer hose to that outlet and run it to a dump station inlet or a campsite sewer connection. Then you open the valves one at a time. Some RVs have two separate outlets, or a second gray tank for the kitchen, but the basic idea is the same.
Gear you need to dump RV tanks
| Item | Why you need it | Tip |
|---|---|---|
| Sewer hose | Carries waste to the dump inlet | Winnebago recommends a high-quality hose, attached correctly |
| Clear elbow or fitting | Lets you see when the tank is empty | RV Life notes it helps you clear the station faster |
| Hose support | Gives gravity assistance | Camping World says it helps clear the hose more completely |
| Dedicated rinse hose | Cleans the hose and area | Never use your drinking water hose |
| Disposable or heavy gloves | Keeps hands clean | Pack used gloves out with you |
| Black tank flush wand or built-in flush | Rinses solids from the black tank | Use when no one is waiting |
| Tank treatment | Helps break down waste and control odor | Follow the product directions |
Store your sewer gear in a separate bin or compartment, away from fresh water gear. This simple habit prevents cross-contamination and keeps your drinking water safe.
Free download: The Full-Time RV Launch Checklist
Our 16-page planner: a 12-month countdown, inspection checklist, budget and weights worksheets and a maintenance calendar. Free and printable.
When to dump your RV black tank
Knowing how to dump RV tanks starts with timing, which matters more than many new owners realize. Camping World recommends emptying holding tanks when they reach about two-thirds capacity. Dumping a black tank that is only a quarter full may seem tidy, but it often leaves solids behind, because there is not enough liquid to carry them out. A fuller tank creates a stronger rush of water that flushes the tank more completely.
On the other hand, never let the RV black tank get completely full. As Winnebago notes, no one wants to deal with an overflowing toilet. Watch your tank monitor panel, and plan your dumps around your travel days. For example, many RVers dump on the way out of a campground, so they start the next stop with empty tanks.
How to dump RV tanks at a dump station: step by step
Here is the full routine, based on Camping World’s and Winnebago’s guidance. Once you know how to dump RV tanks this way, you can follow the same steps at nearly any station.
- Pull up close. Winnebago advises aligning your RV close enough that the sewer hose easily reaches the dump inlet with a secure connection.
- Put on gloves. Disposable or heavy rubber gloves both work.
- Set up the rinse hose. Connect your dedicated rinse hose to the station’s spigot, not your drinking water hose.
- Check the hose and fittings. Camping World says to double-check the hose and fittings for loose connections or cracks.
- Connect the sewer hose. Attach it to the RV outlet first, then insert the other end firmly into the dump inlet.
- Add a hose support. This helps gravity drain the hose more completely.
- Open the black tank valve. Camping World says to pull the black tank handle first. Watch the clear elbow until the flow stops.
- Close the black valve and open the gray valve. Empty the gray tank second, so its soapy water rinses the hose.
- Flush if needed. If no one is waiting, use your black tank flush, then dump again.
- Close all valves and disconnect. Lift the hose from the RV end so remaining water drains into the inlet.
- Rinse and store. Rinse the hose and the area, cap the RV outlet, and store your gear.
That is the core of how to dump RV tanks. The first few times, take it slowly and double-check every connection. After a few dumps, the whole process often takes about ten minutes.

Dumping at a full-hookup campsite
Full hookups change how to dump RV tanks a little. At a full-hookup site, you connect your sewer hose to the campsite’s sewer inlet for your whole stay. However, the same rules apply. Keep the black tank valve closed until the tank reaches about two-thirds full, then dump it. Leaving the black valve open lets the liquid drain away while solids stay behind and harden, which can create a stubborn buildup.
The gray tank is more flexible. Some owners leave the gray valve open during a long stay, while others keep it closed and dump it after the black tank so it rinses the hose. Keeping some water in the gray tank also gives you rinse water when you dump the black tank. Either way, close the gray valve a day or so before you plan to dump the black tank.
Flushing the RV black tank
Over time, solids and paper can cling to the inside of the black tank and to its sensors. A black tank flush helps clear them. Many RVs have a built-in flush inlet that sprays water inside the tank; others use a wand inserted through the toilet. Camping World suggests using your black tank flush after both tanks have emptied, then deep cleaning the tanks annually.
When you flush, always keep the black valve open so water drains as it sprays in, and never leave the flush running unattended, since a closed valve can overfill the tank. Also, use your rinse hose for flushing, not your drinking water hose. If there is a line at the dump station, though, save the long flush for later. RV Life points out that flushing can turn a typical ten-minute visit into twenty minutes or more.
RV holding tanks: treatments and odor control
Tank treatments help break down waste and paper and reduce odors. Camping World recommends using enzyme-digesting treatments regularly: every five to ten dumps for full-timers and after each trip for part-timers. In addition, after each dump, add a few gallons of water to the RV black tank before using it again. That water cushion helps keep solids from sticking to the bottom.
Odors usually come from a dry trap, a failing toilet seal or a vent problem rather than the tank itself. So, if your RV smells, check that the sink and shower traps have water in them, that the toilet seal holds water in the bowl, and that the roof vent is clear. Hot weather makes odors worse, so treat and dump a little more often in summer.
What should go in an RV toilet
Camping World’s first tip is to flush nothing besides waste and RV-friendly toilet paper. That means no wipes, even the ones labeled flushable, no paper towels and no feminine products. These items do not break down in the tank and can clog the outlet or the valve. Many RVers also use plenty of water with each flush, which helps move waste and paper into the tank and keeps it from piling up.
If you want to test a toilet paper, put a few squares in a jar of water and shake it. RV-friendly paper should break apart quickly. If it stays in one piece, keep it out of your RV.
RV holding tanks sensors that read wrong
Tank level sensors are a common frustration. Paper and waste can stick to the sensor probes inside the tank, so the monitor reads full when the tank is empty. Regular flushing and tank treatments help keep the sensors clean. Even so, many experienced RVers rely on a mix of the monitor, how many days they have been camping, and simply watching the flow when they dump. Over time, you will learn how long your tanks last for your household.
Clogs in RV holding tanks
A “pyramid” forms when solids pile up under the toilet because the black valve was left open or too little water was used. Fixing it takes patience. First, close the black valve and add plenty of water to the tank. Next, add a tank treatment and let it work, ideally while driving, so the water sloshes around. Then dump the tank and flush it. If that does not work, a tank wand can help break up the pile. Prevention is far easier: keep the black valve closed until dumping and use plenty of water.
A slow gray tank is usually caused by grease and food scraps from the kitchen sink. Use a sink strainer, wipe greasy pans before washing them, and add a gray tank treatment if needed.
Cassette and portable toilets
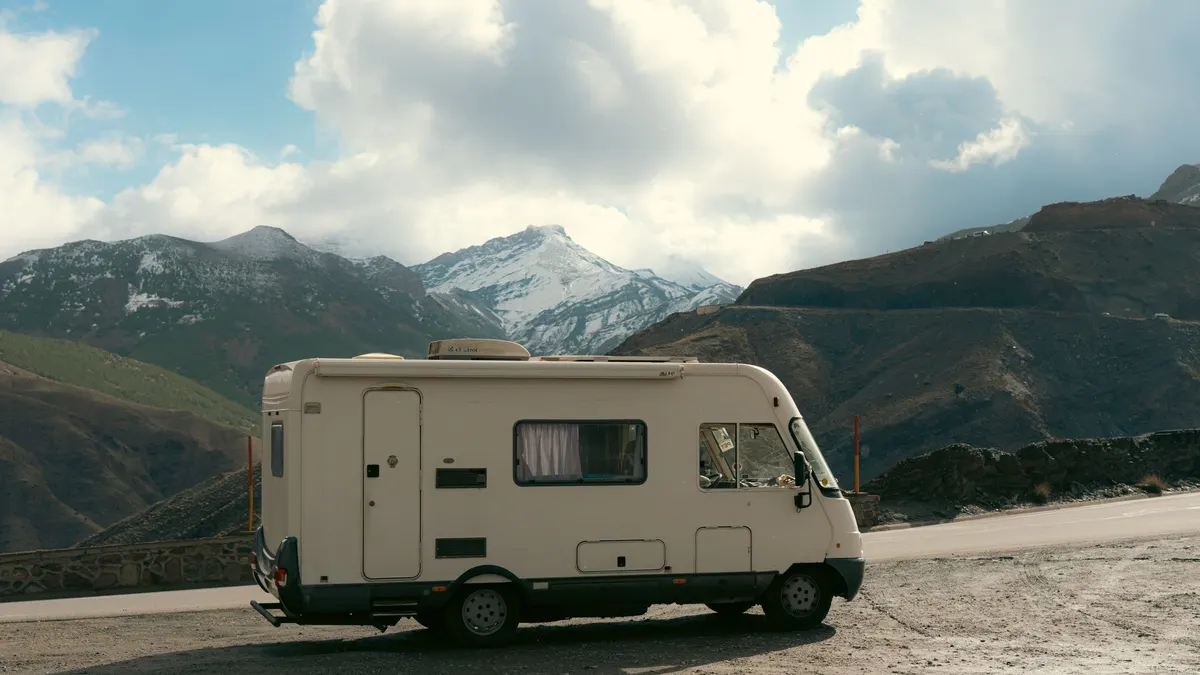
Not every RV uses a gravity black tank. Winnebago explains that some smaller models have cassette or portable toilets instead. A cassette toilet has a smaller capacity, and its tank is removed from the RV to be emptied rather than dumped through a sewer hose. Winnebago notes the advantage: there is no waiting in a dump line, aligning the vehicle or pulling out extra parts. Cassette tanks can be emptied into an RV dump station or, where allowed, a regular toilet.
Finding an RV dump station
Camping World notes that RV parks and resorts with full hookups make dumping easy, but learning about other places to dump gives you more choices on the road. Common options include campgrounds, travel centers, some rest areas, RV dealers and municipal dump stations. Some charge a fee, and some are free for customers. Before you go, check whether the station has a rinse spigot; Camping World notes there should be a water spigot near the dump site, and some have a rinse hose. Our RV Campground Finder and guide to free camping can help you plan stops, especially when you will be boondocking for several days.
Dump station etiquette
Learning how to dump RV tanks also means learning to share. Dump stations are shared spaces, and a little courtesy goes a long way. RV Life’s etiquette advice comes down to a few simple rules:
- Keep it quick when others are waiting. Dump, rinse and move on; save long flushes for later.
- Use a good hose. Never dump with a leaky hose or no hose at all.
- Clean up after yourself. Rinse any spills and leave no mess behind.
- Pack out your gloves. RV Life asks RVers to bag used gloves and take them along.
- Don’t cut the line. Wait your turn, even if it takes a while.
Also, prepare before you pull up. Have your gloves on, your hose ready and your rinse hose out, so your time at the station is as short as possible.
RV holding tanks in cold weather
Cold weather adds one more consideration. Tanks and valves can freeze, so many RVers who camp in freezing temperatures use tank heaters and add a little RV antifreeze to the tanks. Before winter storage, always dump and clean the tanks. Our guide on how to winterize an RV covers this step in detail.
RV tank dumping checklist
- Gloves on and gear ready before you pull up.
- Rinse hose on the spigot, not the drinking water hose.
- Sewer hose checked and connected securely at both ends.
- Black tank first, then gray.
- Flush the black tank when no one is waiting.
- Close valves, drain the hose and rinse.
- Cap the outlet and store gear separately.
- Add water and treatment to the black tank.
To compare current gear, you can browse RV sewer hose kits, sewer hose supports and tank treatments on Amazon.
Common RV tank mistakes
- Dumping gray before black. The black tank goes first.
- Leaving the black valve open. Solids build up into a pyramid.
- Dumping a nearly empty black tank. Wait until it is about two-thirds full.
- Flushing wipes. Only waste and RV-friendly paper go in.
- Using your drinking water hose to rinse. Keep separate hoses.
- Flushing while others wait. Save it for a quiet time.
Once you learn how to dump RV tanks, it stops being something to dread and becomes just another part of the routine. Follow the black-then-gray order, care for your RV black tank, and respect your fellow campers at the station. For more beginner-friendly guides, visit our RV Living hub.
Frequently asked questions about dumping RV tanks
Which RV tank do you dump first?
Dump the black tank first, then the gray tank. Camping World’s holding tank guide says to pull the black tank handle first and the gray handle second, so the gray water helps rinse the sewer hose.
How often should I dump my RV tanks?
Camping World recommends emptying holding tanks when they reach about two-thirds capacity. Waiting until the tank is fuller helps solids flush out with the liquid.
Should I leave my black tank valve open at a full-hookup site?
No. Keep the black tank valve closed until the tank is about two-thirds full, then dump it. An open valve lets liquid drain away and leaves solids behind, which can build up.
What toilet paper is safe for an RV?
Camping World advises flushing nothing besides waste and RV-friendly toilet paper. RV-friendly paper breaks down quickly in the tank.
Can I use my drinking water hose to rinse after dumping?
No. Camping World says to use a separate rinse hose and never the potable hose you use for drinking water.
Sources and how we researched this guide
This guide is research-based. The dumping order and maintenance tips come from Camping World’s holding tank guide and Winnebago’s beginner guide to RV toilets and dump stations; etiquette points come from RV Life. Follow your RV owner’s manual for your tank system. Found something out of date? Tell us and we will check it against the source.
- Camping World: how to maintain RV holding tanks
- Winnebago: beginner guide to RV toilets and dump station tips
- RV Life: dump station etiquette
- Go RVing: how to empty the black water tank
Keep planning
- Motorhome vs Fifth Wheel for Full-Time Living
- Cost of Full-Time RVing: A Realistic Monthly Budget, Line by Line
- Full-Time RV Living: A Complete Guide to Planning, Costs and Life on the Road
- RV Domicile and Mail Forwarding: How Full-Time RVers Choose a Home State
Go deeper: RV Living hub · Full-Time RV Budget Calculator · RV Emergency Fund Calculator

Written by Jeremy Jarvis
Jeremy Jarvis is the founder and editor of Freedom Road Living, where he builds research-based guides and free planning tools for people who live, work and travel in an RV. He sets the site's editorial standards, checks every guide against official sources such as the National Park Service and manufacturer documentation, and is responsible for corrections. Jeremy also founded Eco Nomad Travel, Mind Clarity Hub, SilkHarborTravel and WanderOza Travel, and he is the author of books on clarity, focus and practical AI, including The Power of Clarity and Digital Clarity.