
How to Winterize an RV: Step-by-Step Plumbing, Storage and Spring Startup Guide
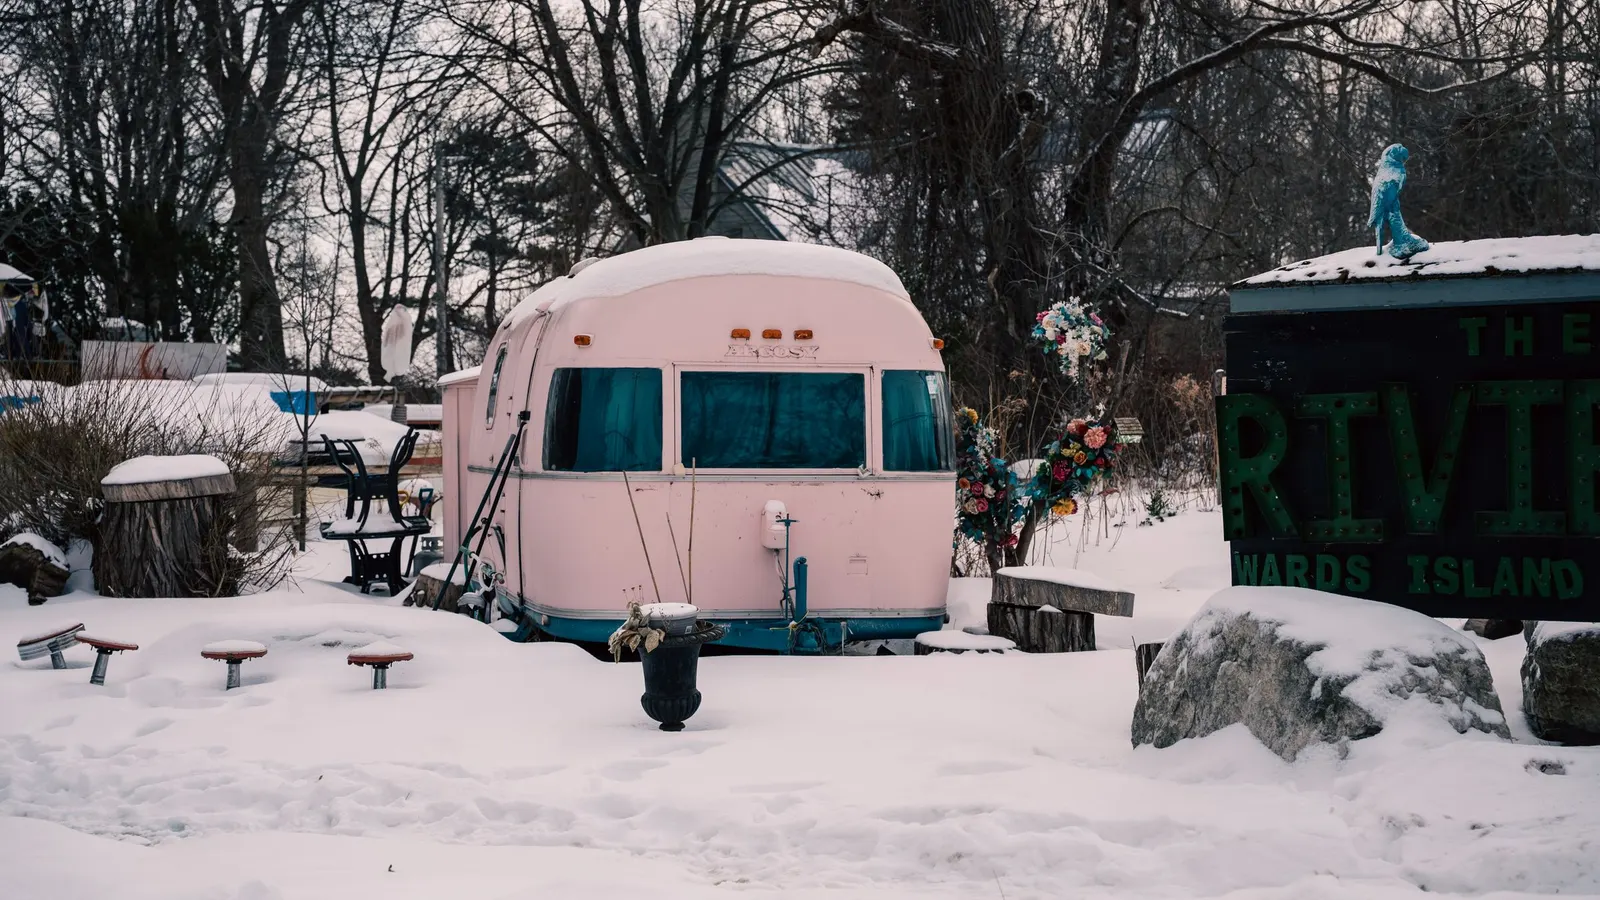
Water expands when it freezes, and that simple fact destroys RV plumbing every winter. A single hard freeze can crack water lines, split fittings, ruin a water pump or burst a water heater tank. Repairs are expensive, and they often hide behind walls and under floors. Learning how to winterize an RV protects your rig for a fraction of that cost. In this guide, we walk through the full process step by step: draining the tanks, bypassing the water heater, blowing out the lines, adding RV antifreeze, and preparing the rest of the RV for storage. We also cover pests, batteries, tires and how to bring everything back to life in spring.
Last reviewed and updated: September 30, 2026. Written by Jeremy Jarvis.
Key takeaways
- Drain the holding tanks, fresh tank and water heater first; then bypass the water heater so it does not fill with antifreeze.
- Blow out the lines with compressed air through a pressure adapter, running hot and cold at every faucet separately.
- Use only non-toxic RV antifreeze. Winnebago warns never to use automotive antifreeze in RV plumbing.
- Clean out all food, seal entry points and shut down electrical systems so mice, bugs and dead batteries do not greet you in spring.
The steps below follow Winnebago’s published winterizing guide, along with general advice from Go RVing. However, every RV’s plumbing is a little different. So keep your owner’s manual nearby and use it to find each valve and drain on your specific model.
Why winterizing your RV matters
Winnebago sums up the process simply: winterizing involves draining all the water, blowing it out with compressed air and filling the plumbing system with RV antifreeze. The goal is to leave no plain water anywhere it could freeze. Any water left in a low spot, a trap or a valve can freeze, expand and crack the part around it.
Holding tanks are at risk too. Winnebago warns that if you do not drain the holding tanks, they will freeze and be damaged. In addition, freeze damage is rarely obvious right away. Often, you only discover it in spring, when you turn on the pump and water starts dripping from a cabinet or under the floor. By then, the damage may have spread. That is why it pays to winterize thoroughly, even if you only expect a few freezing nights.
When to winterize an RV
The right time depends on your climate. As a rule, winterize before the first hard freeze of the season, rather than waiting for a forecast that may change. For cold regions, that can mean early fall. Meanwhile, in milder areas, some owners only winterize if the RV will sit unused through a cold spell. If you are unsure, it is safer to winterize early. Also, keep an eye on local forecasts; Ready.gov’s winter weather guidance is a good reminder to prepare before severe weather arrives rather than during it.
Free download: The Full-Time RV Launch Checklist
Our 16-page planner: a 12-month countdown, inspection checklist, budget and weights worksheets and a maintenance calendar. Free and printable.
If you plan to keep using your RV in winter, you will follow a different approach, which we cover later. Likewise, if you are storing your RV in a heated building, winterizing may be less critical, but many owners still do it as insurance against a power or heating failure.
Supplies for RV winterizing
Part of knowing how to winterize an RV is gathering everything before you start. That way, the job goes smoothly in one session:
- RV antifreeze: non-toxic, pink antifreeze made for RV plumbing. Buy more than you think you need.
- Water heater bypass kit: if your RV does not already have a bypass.
- Pump converter kit or hand pump: to draw antifreeze from the jug into the system.
- Air compressor and blowout adapter: a pressure adapter that connects to the city water inlet.
- Basic tools: a socket or wrench for the water heater drain plug, and pliers.
- Replacement anode rod or drain plug: if your water heater uses one.
- Gloves, rags and a bucket: for spills.
- Sewer hose and gloves: for dumping the holding tanks.
Safety first: Winnebago’s guide includes a clear warning not to use automotive antifreeze. It is toxic, and Winnebago warns it can be deadly when you use the RV plumbing again in spring, even if you think you have rinsed it out. Always buy RV antifreeze made for potable water systems.
RV winterization methods compared
| Method | How it works | Strengths | Trade-offs |
|---|---|---|---|
| Compressed air only | Blow all water out of the lines | No antifreeze to flush in spring | Water can remain in low spots and traps |
| RV antifreeze only | Pump antifreeze through every line | Protects low spots and traps | Uses more antifreeze; must be flushed in spring |
| Air plus antifreeze | Blow out the lines, then add antifreeze | Most complete protection | Takes the most time |
| Heated storage | Keep the RV above freezing indoors | Little plumbing work | Costly; risk if heat fails |
Winnebago’s process uses air plus antifreeze, which is the most thorough option. If you are learning how to winterize an RV for the first time, it is also the safest choice, and it is the method we describe below.
How to winterize an RV: step-by-step plumbing
Step 1: Drain and clean the holding tanks
Start with the black and gray tanks. Winnebago lists this as the first step, because tanks left full can freeze and be damaged. Dump the black tank first, then the gray tank, and flush the black tank if your RV has a flush system. Afterward, leave the valves closed and the cap on, so odors and pests stay out.
Step 2: Drain the fresh water tank
Next, drain the fresh water tank. Open its drain valve and let it empty completely. Then, open the low-point drains for the hot and cold lines if your RV has them, and let any remaining water run out.
Step 3: Drain the water heater
Before draining, make sure the water heater is off and has cooled down, and that it is not under pressure. Winnebago’s guide then says to remove the water heater’s exterior cover and loosen the drain plug or anode rod to drain the tank. Opening the pressure relief valve helps it drain faster. If your heater has an anode rod, this is a good time to inspect it. Our guide to RV water heater repair covers anode rods and common heater issues.
Step 4: Blow out the lines with compressed air
With the tanks and heater drained, Winnebago recommends using an air compressor to blow out the plumbing. Attach a pressure adapter to the city water inlet and connect the compressor. Use a low, regulated pressure; check your owner’s manual for the limit, since too much pressure can damage fittings. Then, Winnebago says, go around and open every faucet one by one, leaving it open until nothing but air comes out. Importantly, Winnebago notes that hot and cold need to be drained separately, even if the sink has only one handle. For the toilet, hold the flush lever slightly open until only air comes out. Don’t forget the outdoor shower and any other fixtures.
Step 5: Bypass the water heater
Next, bypass the water heater so antifreeze does not fill its tank. According to Winnebago, most water heaters have a bypass loop that you activate by turning on the bypass valve and turning off the input and output valves to the heater. The location varies by model, so check your manual. If your RV has no bypass, consider installing a bypass kit before winterizing; otherwise, you will need many extra gallons of antifreeze to fill the heater.
Step 6: Pump RV antifreeze through the system
Now add the RV antifreeze. Winnebago suggests consulting your owner’s manual to locate the water pump, and to check how to pump antifreeze into the plumbing on your model. Many RVs have a winterizing valve or a siphon tube near the pump that draws straight from the jug. Then, Winnebago says, go to each faucet one by one and run hot and cold separately until they show a flow of pink. Start with the faucet closest to the pump and work outward to the farthest one.
Step 7: Protect the drains and traps
Finally, pour a small amount of RV antifreeze into each sink and shower drain to protect the P-traps, and flush some antifreeze into the toilet so the seal and valve stay protected. Also, pour a little into the gray and black tanks to protect the tank valves.
Toilets, ice makers, washers and other fixtures
Some RVs have extra plumbing that is easy to overlook. Ice makers, washing machines, dishwashers, outside kitchens and water filters all hold water. For each one, check your owner’s manual, because they often have their own winterizing steps. For example, remove water filter cartridges before winterizing, since antifreeze can ruin them. Our RV water filter guide explains filter care. Likewise, ice makers and washers usually need to be drained and run through a specific cycle. If in doubt, ask your dealer or the appliance maker.
Clean out food and keep out pests
Plumbing is only one part of how to winterize an RV properly. Pests are the other big threat. Winnebago warns that any food left in the RV will attract mice and bugs, so clean out every food storage area completely. Winnebago adds that cans can freeze and explode, and that mice can chew through plastic. In fact, it notes that if any food is left, mice will find a way in even if you take sealing precautions.
So empty the fridge, freezer and pantry, then clean them thoroughly. Prop the refrigerator and freezer doors open so mold does not grow. Winnebago also suggests placing a fresh, open box of baking soda wherever food was stored to keep things odor-free. Next, seal the RV. Winnebago’s advice is to seal the RV so that mice and insects cannot get in. Look underneath for gaps around pipes and wires, and fill them with a pest-resistant material. Check vents, the generator compartment and storage bays too.
Electrical systems and batteries
Winnebago recommends turning off the water pump, water heater and other electrical appliances. In addition, take care of the batteries. A battery left connected to small parasitic loads can drain over the winter, and a deeply discharged lead-acid battery can freeze and be damaged. So either disconnect the batteries, use the battery disconnect switch, or keep them on a proper maintenance charger. Lithium batteries have their own storage rules; our RV lithium battery guide explains them.
Also, turn off the propane at the tanks, and consider removing small portable tanks for storage. If you store the RV with solar panels, remember that a cover will block charging.
Tires, exterior and storage spot
Tires need attention during storage too. Winnebago points out that if tires are under-inflated, or if they lose air over the months, the sidewalls could begin to crack, which makes them unsafe in spring. Therefore, inflate tires to the recommended pressure before storage and check them periodically. Tire covers help protect against UV light. For more on tire care, see our guide to the RV tire pressure monitoring system.
On the outside, wash the RV, inspect the roof and seals, and fix problems before winter. Winnebago encourages owners to fix things now so the RV is ready in spring rather than putting off repairs. Close the vents, retract the awning and, if you store outdoors, consider a breathable cover; our RV covers guide explains how to choose and fit one.
Living in your RV through the winter
Not everyone needs to know how to winterize an RV for storage. If you plan to camp or live in your RV through freezing weather, you will not winterize the plumbing in the usual way. Instead, you protect it while it is in use. Common steps include a heated water hose, skirting around the base of the RV, tank heaters, keeping the interior and plumbing bays warm, and filling the fresh tank rather than leaving a hose connected overnight. Many RVs are not built for deep cold, so check your owner’s manual for your RV’s cold-weather rating. Because winter RVing has many more details, plan carefully and keep an emergency backup plan for heat and power.
Spring startup: dewinterizing your RV
Knowing how to winterize an RV also means knowing how to undo it. When warmer weather returns, reverse the process. First, flush the antifreeze out of the plumbing by connecting to fresh water and running every faucet until the water runs clear. Next, turn the water heater bypass valves back to normal, close the drain plug or reinstall the anode rod, and fill the heater with water before turning it on. Never turn on the water heater while it is empty. Then, sanitize the fresh water system following your owner’s manual. After that, reinstall water filter cartridges and check for leaks under sinks and around fittings.
Beyond plumbing, charge and reconnect batteries, test the smoke, carbon monoxide and propane detectors, check tire pressure and inspect the roof. Also look for any signs of pests. A slow, careful spring check catches problems before your first trip.
RV winterizing checklist
- Dump and flush the black and gray tanks.
- Drain the fresh water tank and open low-point drains.
- Drain the water heater after it cools.
- Blow out the lines with low-pressure compressed air.
- Bypass the water heater.
- Pump RV antifreeze through every faucet, hot and cold, until pink.
- Add antifreeze to drains, the toilet and tanks.
- Remove water filter cartridges and handle special appliances.
- Clean out all food and seal pest entry points.
- Shut off electrical systems and care for batteries.
- Inflate tires, close vents and cover the RV if stored outside.
To gather supplies, you can browse RV antifreeze, water heater bypass kits and RV blowout adapters on Amazon.
Common RV winterization mistakes
- Using automotive antifreeze. Winnebago warns it is dangerous in RV plumbing.
- Forgetting the water heater bypass. You will waste antifreeze filling the tank.
- Running only one side of a faucet. Hot and cold must be cleared separately.
- Skipping the outdoor shower or ice maker. Hidden fixtures freeze too.
- Using too much air pressure. Follow your manual’s limit.
- Leaving food inside. Mice will find it.
- Turning on an empty water heater in spring. Always fill it first.
Knowing how to winterize an RV is one of the most valuable maintenance skills an owner can learn. With an afternoon of work and a few jugs of RV antifreeze, you protect thousands of dollars of plumbing and start the next season ready to roll. For more ways to care for your rig and plan life on the road, explore our RV Living hub.
Frequently asked questions about winterizing an RV
How do you winterize an RV?
Drain the holding tanks, fresh water tank and water heater, bypass the water heater, blow out the lines with compressed air, and then pump RV antifreeze through every faucet until it runs pink. Winnebago’s guide follows this order.
Can I use car antifreeze in my RV plumbing?
No. Winnebago gives an explicit safety warning not to use automotive antifreeze in RV plumbing. Use only non-toxic RV antifreeze made for potable water systems.
Do I need to bypass the water heater?
Yes. Winnebago explains that most water heaters have a bypass loop you activate by turning on the bypass valve and turning off the heater’s input and output valves, so antifreeze does not fill the tank.
Should I blow out the lines or use antifreeze?
Winnebago’s method uses both: blow out the lines with compressed air, then fill the plumbing with RV antifreeze. Many owners use both for extra protection.
How do I keep mice out of my RV in winter?
Winnebago advises cleaning out every food storage area completely and sealing the RV so mice and insects cannot get in, because any food left inside will attract them.
Sources and how we researched this guide
This guide is research-based. The plumbing process and safety warnings follow Winnebago’s published winterizing guide, with general guidance from Go RVing. RV plumbing layouts vary a lot, so always follow your own RV owner’s manual first. Found something out of date? Tell us and we will check it against the source.
- Winnebago: winterizing your RV
- Go RVing: complete guide to winterizing your RV
- Heartland RVs: winterization guide (PDF)
- Ready.gov: winter weather
Keep planning
- Motorhome vs Fifth Wheel for Full-Time Living
- Cost of Full-Time RVing: A Realistic Monthly Budget, Line by Line
- Full-Time RV Living: A Complete Guide to Planning, Costs and Life on the Road
- RV Domicile and Mail Forwarding: How Full-Time RVers Choose a Home State
Go deeper: RV Living hub · Full-Time RV Budget Calculator · RV Emergency Fund Calculator

Written by Jeremy Jarvis
Jeremy Jarvis is the founder and editor of Freedom Road Living, where he builds research-based guides and free planning tools for people who live, work and travel in an RV. He sets the site's editorial standards, checks every guide against official sources such as the National Park Service and manufacturer documentation, and is responsible for corrections. Jeremy also founded Eco Nomad Travel, Mind Clarity Hub, SilkHarborTravel and WanderOza Travel, and he is the author of books on clarity, focus and practical AI, including The Power of Clarity and Digital Clarity.