
RV Leveling Blocks: How to Level an RV Step by Step (Blocks, Ramps and Jacks)

Few campsites are perfectly flat. Pull into almost any site and your RV will tilt a little, sometimes a lot. RV leveling blocks are the simple, inexpensive fix: stackable blocks or curved ramps that raise the low side of your rig until it sits level. This guide explains how to level an RV step by step, which types of blocks and ramps make sense for your rig, how stabilizer jacks and automatic systems fit in, and the common mistakes that damage jacks, slides and appliances.
Last reviewed and updated: September 30, 2026. Written by Jeremy Jarvis.
Key takeaways
- Level side to side first with RV leveling blocks or ramps under the low-side tires, then level front to back.
- Chock the wheels before you unhitch or adjust the tongue jack or landing gear.
- Stabilizer jacks reduce movement; they are not meant to lift or level the RV.
- Re-check level after the slide-outs are out, because weight shifts can change it.
The process looks intimidating the first few times. However, it quickly becomes a routine that takes only a few minutes. Once you have a system, you will level the RV almost without thinking about it.
Why RV leveling matters
Leveling is about much more than comfort. According to Keystone RV’s campground guide, absorption-style refrigerators, which are common in RVs, need to be level to operate safely. Heartland RVs adds that refrigerator and air conditioning coils may not cool correctly when the coach is tilted, slides need a level surface to extend, retract and seal evenly, and holding tank monitors can display incorrect readings. In addition, KOA points out that doors and cabinets open and close correctly on a level RV, and that water drains away from the rig, which helps prevent leaks and mold.
Then there is sleep. A slight tilt that you barely notice while standing can feel strange at night, especially when you sleep with your head downhill. Likewise, showers drain poorly, pans slide on the stove and the fridge door swings open or shut on its own. For all of these reasons, leveling is one of the first jobs after you arrive. If your RV has an absorption fridge, our guide to the RV refrigerator explains in more detail why it is sensitive to level.
RV leveling tools you need
You do not need much equipment to level an RV. In fact, a basic kit fits in one storage bin:
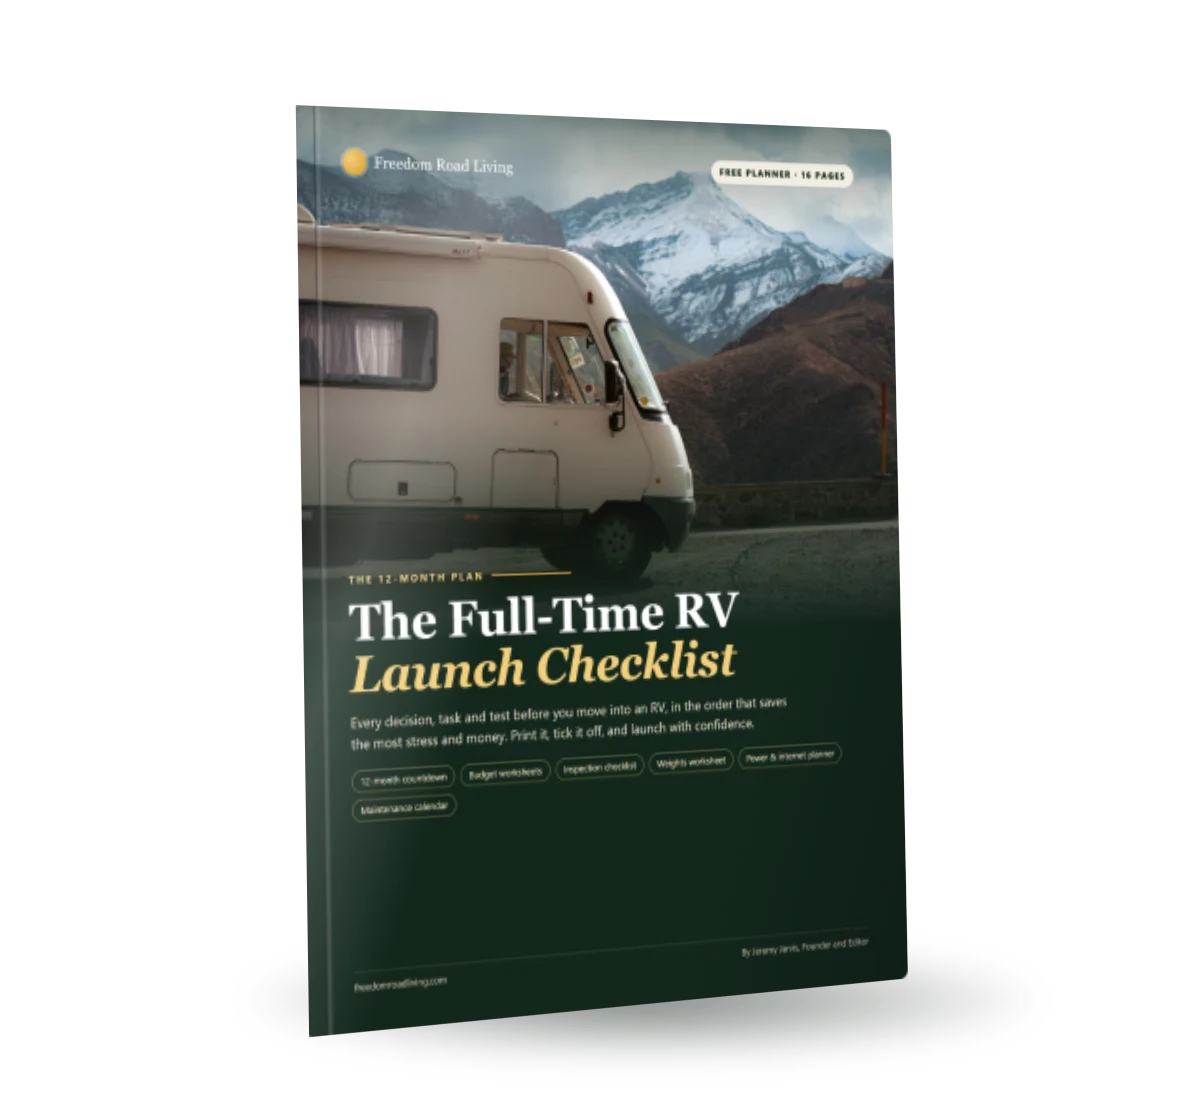
Free download: The Full-Time RV Launch Checklist
Our 16-page planner: a 12-month countdown, inspection checklist, budget and weights worksheets and a maintenance calendar. Free and printable.
- A level: a small bubble level placed on the floor or counter near the center of the RV, or a digital leveling sensor that shows readings on your phone.
- RV leveling blocks or ramps: stackable blocks or curved ramps to raise the low-side tires.
- Wheel chocks: to keep the RV from rolling once it is level.
- Jack pads: to spread the load of tongue jacks, landing gear and stabilizers on soft ground.
- Work gloves and a flashlight: because you will often level at dusk on gravel.
KOA describes the basic bubble level as a small liquid tube with a bubble; when the bubble sits in the center, the RV is level. Many owners mount two levels on the outside of the RV, one on the side and one on the front, so they can see both readings from the driver’s seat or the tongue.
Types of RV leveling blocks and ramps
| Type | How it works | Best for | Trade-offs |
|---|---|---|---|
| Stackable interlocking blocks | Square plastic blocks you stack like a pyramid under the tire | Most RVs; flexible height | Takes a few tries to get the height right |
| Curved ramp levelers | Curved ramp with a chock; you roll onto it until level | Travel trailers, fine adjustments | Limited lift; best on single-axle or carefully placed on tandems |
| Straight ramp levelers | Stepped or sloped ramp you drive up | Motorhomes and larger rigs | Fixed steps, less fine control |
| Wood blocks | Cut lumber placed under tires or jacks | Budget setups | Heavy, can rot or split; must be wide enough for the tire |
| Jack pads | Pads under jacks and landing gear | Soft ground, protecting jack feet | Not for lifting tires |
For most owners, stackable plastic camper leveling blocks are the most versatile choice. Curved levelers are faster for small adjustments on travel trailers. Whatever you choose, make sure the blocks are wider than your tires, so the whole tread sits on the block, and that the stack is rated for the weight of your rig.

Choosing a site before RV leveling
The easiest leveling job is the one you avoid. Before you back in, walk the site. Look for the flattest area that still lets you reach hookups, extend slides and open the door. Next, remove rocks, sticks and debris where the tires and jacks will sit. Also, check that the ground is firm; soft sand, mud or wet grass can let blocks and jacks sink. Keystone RV specifically warns against leveling on soft sand or mud without pads.
In addition, think about which way the site slopes. If it drops toward the door side, for example, you know the door-side tires will need blocks. Positioning the RV so the steepest slope runs front to back, rather than side to side, often makes the job easier, because front-to-back adjustment on a trailer uses the tongue jack rather than blocks. Our RV Campground Finder and Travel Day Planner can help you plan to arrive in daylight, when sizing up a site is far easier.
How to level an RV side to side
Most manufacturer guides level side to side first. Here is the routine Keystone RV describes, expanded with practical detail:
- Place a level inside the RV. Most RVers use a small level on the floor near the center of the rig.
- Find the low side. Note which side is low and estimate how much lift is needed.
- Place RV leveling blocks under the low-side tires. On a tandem axle, place blocks under both tires on that side.
- Pull forward or back onto the blocks. Drive slowly and have a spotter guide you so the tires stop centered on the top of the stack.
- Check the level again. If the RV is still low, add a layer; if it is now high, remove one.
- Chock the wheels. Once level side to side, Keystone RV advises securing both sides of the RV with wheel chocks.
Build blocks in a pyramid or stepped shape so the tire climbs gradually. Moreover, never let a tire hang partly off the edge of a block, because that stresses the tire and can let the block kick out. Patience helps here. It may take two or three tries to find the right height, and that is completely normal.
Front-to-back RV leveling by rig type
Once the RV is level side to side and chocked, adjust front to back. The method depends on your rig.
Travel trailers
With the wheels chocked, unhitch and use the tongue jack to raise or lower the front until the level reads center. Place a pad or block under the tongue jack foot, especially on soft ground. Afterward, check the side-to-side reading again, because front-to-back changes can shift it slightly.
Fifth wheels
Fifth wheels use the front landing gear to adjust front to back, as Keystone RV notes. Again, use pads under the landing gear feet. Many fifth wheels now include automatic leveling, which we cover below.
Motorhomes
Motorhomes cannot use a tongue jack, so front-to-back leveling uses blocks under the front or rear tires, or the coach’s leveling jacks if it has them. Cruise America’s renter guide notes that many motorhomes now come with factory-mounted leveling jacks, and it warns never to pull away while the RV is leveled on these jacks, since that can damage the jacks or tear them off.
Camper vans and truck campers
Vans and truck campers rely on blocks or curved ramps under the tires. Because the wheelbase is shorter, small adjustments go a long way, so add height a little at a time.
Stabilizer jacks vs RV levelers
This is the single most common leveling mistake. Stabilizer jacks are not leveling jacks. Keystone RV’s guidance is direct: stabilizer jacks reduce movement inside the RV but should not be used for leveling, because they are meant for stability rather than weight-bearing adjustment. Using them to lift the RV can bend the jacks or damage the frame.
So, lower stabilizers only after the RV is level, and lower them just until they firmly contact the ground or pads. Their job is to stop the bouncing and swaying you feel when someone walks inside. Similarly, Heartland RVs explains that stabilizing the camper distributes the coach’s weight to the elements designed to handle it.

Automatic and hydraulic leveling systems
Many newer and higher-end RVs come with electric or hydraulic automatic leveling. Heartland RVs, for example, mentions that many of its RVs come with six-point hydraulic landing gear and automatic leveling. These systems do most of the work at the push of a button. Even so, Keystone RV advises following your owner’s manual, parking on relatively level ground and watching for soft surfaces that can shift.
RV leveling blocks still have a place with automatic systems. On a steep site, placing blocks or pads under the jacks reduces how far each jack must extend, which keeps the RV more stable and protects the jacks. Likewise, pads prevent jack feet from sinking into soft ground or damaging asphalt in hot weather.
Slide-outs and RV leveling
Slide-outs add a twist. Keystone RV recommends re-checking level after slide-outs are deployed, because the weight shift can affect balance. As a rule, level the RV first, then extend the slides, then check again. Heartland RVs also notes that slides need a level surface to extend and retract evenly and seal properly. Therefore, if a slide struggles or sounds strained, stop, retract it and re-check level rather than forcing it.
Leveling on soft, sloped or tricky sites
Not every site is a tidy gravel pad. On grass or sand, use wide pads under every block, jack and stabilizer, and check again after the first night, since the ground may settle. On steep sites, you may need to stack blocks high on one side; in that case, use blocks designed to interlock, and consider whether a different spot on the site would reduce the slope. At free and dispersed campsites, there may be no prepared pad at all, so carry extra blocks. Our guide to free camping covers more tips for undeveloped sites.
Also, think about drainage. Heartland RVs points out that proper leveling promotes effective drainage into waste water tanks. Some owners deliberately leave a very slight tilt toward the tank drains, but only within what the refrigerator and other systems can tolerate. When in doubt, follow your owner’s manual.
Packing up your RV leveling blocks
Breaking camp reverses the process, and the order matters just as much. First, retract the slide-outs. Next, raise all stabilizers and leveling jacks fully. Then, for a trailer, hitch up before removing the chocks. After that, drive or pull off the RV leveling blocks slowly, remove the chocks and pack everything. Finally, walk around the RV one last time. A forgotten block or chock is easy to leave behind, and driving with a jack still down can cause serious damage. Many owners keep a written departure checklist for exactly this reason.
How to level an RV at night or in bad weather
Sometimes you arrive late, tired or in the rain. In those conditions, knowing how to level an RV quickly and safely matters even more. First, slow down. Use a strong flashlight or headlamp and walk the site before you back in, because rocks, ruts and soft spots are much harder to see in the dark. Next, ask a passenger to act as a spotter with a light, and agree on simple hand signals before you start moving.
In rain, the ground can soften quickly, so put pads under every block and jack. Also, wipe mud off your blocks before you drive onto them, since wet plastic can be slippery. If the site is truly unsafe, it is fine to do a rough level for the night and finish the job in daylight. A slightly tilted RV for one night is far better than a slipped block or a stuck tire.
Caring for and storing RV leveling blocks
Good leveling gear lasts for years with a little care. After each trip, knock off dirt and gravel, and rinse the blocks if they are muddy. Then let them dry before you store them, which keeps the storage bay cleaner and helps prevent mildew. Inspect the blocks regularly for cracks, especially after heavy use on uneven ground, and replace any block that is split or deformed. Likewise, check that interlocking tabs still grip firmly, since worn tabs can let a stack shift.
Store blocks, chocks and pads together in one bin or bag, so you never have to hunt for them at a new site. In addition, many owners keep a small card in the bin with their personal routine written out step by step. That card is especially helpful when a partner or friend sets up the RV, and it is a simple way to teach new travelers how to level an RV the same way every time.
RV leveling blocks buying checklist
- Choose blocks wider than your tires so the full tread is supported.
- Check that the blocks are rated for your RV’s weight.
- Buy enough to lift both tires on one side of a tandem axle.
- Add wheel chocks sized for your tires.
- Include jack pads for tongue jacks, landing gear and stabilizers.
- Pick a level you can read easily, or a digital leveling sensor.
- Keep everything in one bin so setup and teardown are quick.
To compare current options, you can browse RV leveling blocks, curved RV levelers and wheel chocks on Amazon, then check each product’s weight rating against your rig.
Common RV leveling mistakes
- Leveling with stabilizer jacks. They are for stability, not lifting.
- Skipping the chocks. Always chock before unhitching or adjusting the tongue jack.
- Letting tires overhang the blocks. Support the full tread width.
- Forgetting to re-check after slides go out. Weight shifts can change the reading.
- Leveling on soft ground without pads. Blocks and jacks can sink overnight.
- Driving off with jacks down. Use a departure checklist every time.
Learning how to level an RV is one of the first real skills of RV life. With a good set of RV leveling blocks, a level and a consistent routine, you will be set up and relaxing in minutes. For more gear advice, visit our RV Gear hub.
Frequently asked questions about RV leveling blocks
How do you level an RV with blocks?
Place a level inside the RV, then put leveling blocks or ramps under the tires on the low side and drive or back onto them until the RV is level side to side. Chock the wheels, then level front to back with the tongue jack, landing gear or more blocks, depending on your RV type.
Should I level side to side or front to back first?
Side to side first. Keystone RV’s campground guide puts blocks or ramps under the low-side tires first, then uses the tongue jack or front landing gear to adjust front to back after the wheels are chocked.
Can I use stabilizer jacks to level my RV?
No. Keystone RV notes that stabilizer jacks reduce movement inside the RV but should not be used for leveling, because they are meant for stability rather than weight-bearing adjustment.
Why does my RV need to be level?
Many RV systems depend on it. Keystone RV explains that absorption-style refrigerators need to be level to operate safely, and Heartland RVs notes that slides, drainage and tank monitors also work best on a level coach.
Do I still need leveling blocks with automatic leveling?
Often, yes. Automatic systems do most of the work, but extra blocks or pads under the jacks help on steep or soft sites and keep the jacks from extending too far.
Sources and how we researched this guide
This guide is research-based. We did not test the products mentioned. The leveling routine and warnings come from RV manufacturer guidance from Keystone RV and Heartland RVs, the Cruise America renter guide and the KOA camping blog. Always follow your own RV owner’s manual first. Found something out of date? Tell us and we will check it against the source.
- Keystone RV: how to level your RV at the campground
- Heartland RVs: advice for leveling your RV
- Cruise America: guide to RV leveling
- KOA: tips for leveling an RV
Keep planning
- RV Propane Tank Guide: Sizes, How Long They Last and Safety
- RV Air Conditioner Guide: BTUs, Power, Soft Starts and Upkeep
- Portable Fridge for Camping: How to Choose, Power and Pack One
- RV Trailer Hitch Guide: Hitch Classes, Tongue Weight and Weight Distribution
Go deeper: RV Gear hub · RV Starter Gear Checklist

Written by Jeremy Jarvis
Jeremy Jarvis is the founder and editor of Freedom Road Living, where he builds research-based guides and free planning tools for people who live, work and travel in an RV. He sets the site's editorial standards, checks every guide against official sources such as the National Park Service and manufacturer documentation, and is responsible for corrections. Jeremy also founded Eco Nomad Travel, Mind Clarity Hub, SilkHarborTravel and WanderOza Travel, and he is the author of books on clarity, focus and practical AI, including The Power of Clarity and Digital Clarity.