
RV Rental Inspection Checklist: Pickup and Return
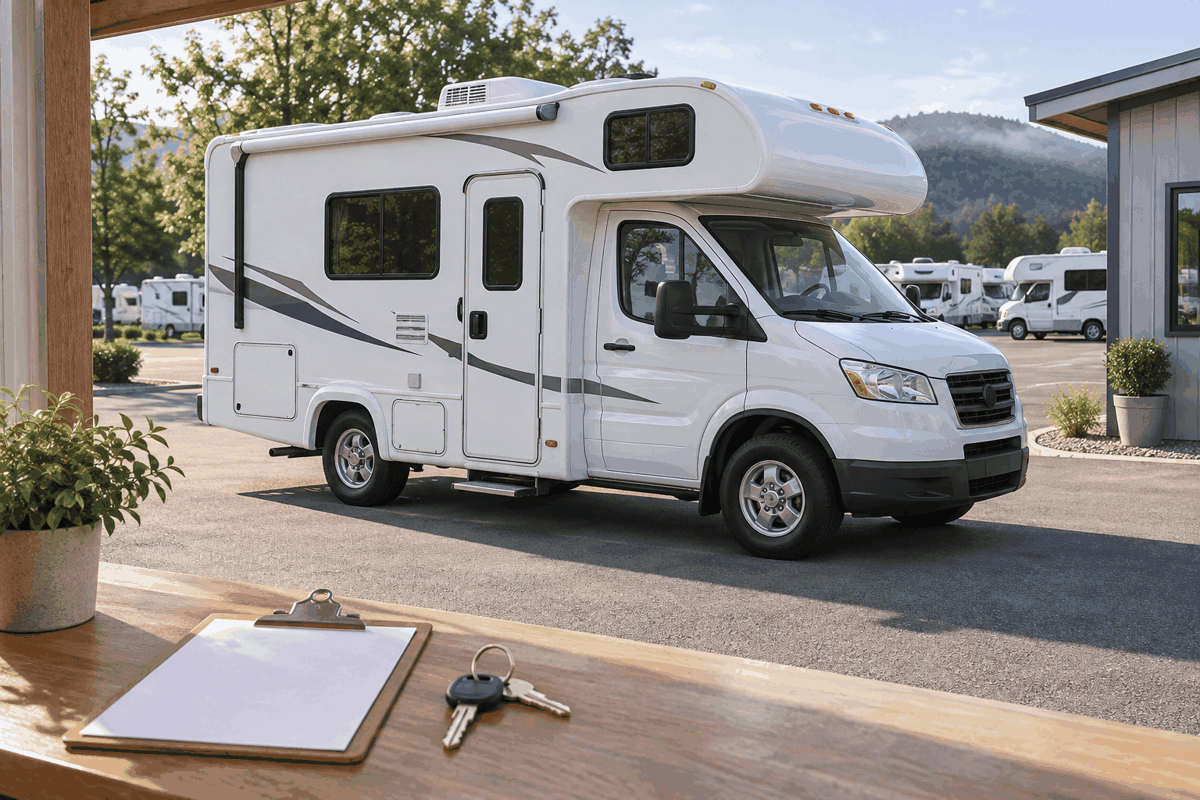
Use an RV rental inspection checklist to create a clear pickup record and a matching return record. Confirm the vehicle and agreement, document existing condition, record meters and supplied items, and ask staff to demonstrate the actual RV. Resolve safety concerns before departure. At return, repeat the same views, keep receipts and obtain a written handoff record. A checklist supports the rental process; it does not certify mechanical safety or guarantee a deposit refund.
An RV rental inspection checklist is most useful when it tells you what evidence to keep and what to ask next. A long list of equipment names is less helpful if you cannot tell which item was demonstrated, which was unavailable and which still needs attention. This guide turns the handoff into a usable record.
It focuses on pickup and return, after you have chosen a rental. For comparing vehicle types, booking options and overall costs, use our broader guide to renting an RV. Here, the goal is a documented condition record and a clear understanding of the vehicle you actually receive.
This research-based guide uses AI-assisted drafting and the linked rental-company resources. No rental vehicles were tested for this article. Images are AI-generated conceptual illustrations. Last reviewed: November 16, 2026. Follow your signed agreement, the supplied vehicle instructions and staff guidance. This checklist is not a professional mechanical inspection or legal advice.
Free download: The Full-Time RV Launch Checklist
Our 16-page planner: a 12-month countdown, inspection checklist, budget and weights worksheets and a maintenance calendar. Free and printable.
Set up your RV rental inspection checklist before arrival
Create one folder for the reservation, agreement, pickup photos, return photos and receipts. Next, save the rental company’s current contact details where you can reach them without searching an inbox. Keep a paper note of the essential support information if your route may have poor service.
Ask the pickup location what documents and people must be present, how the handoff is scheduled and where condition reports are submitted. Then leave time for the actual process. A broad trip itinerary should not force you to rush through an unfamiliar vehicle because the first campsite is too far away.
For example, Cruise America’s FAQ describes a required familiarization tour. El Monte RV’s arrival guidance also explains its orientation and document process. These are company-specific examples, not a universal pickup schedule. Confirm the instructions for your reservation.
Start with the right vehicle and paperwork
Before recording condition, match the vehicle handed over to the rental paperwork. Ask staff to identify it on the condition report and confirm the agreed return location. If a different vehicle is supplied, have the company explain the change and provide the applicable documents before you make assumptions about equipment or terms.
Also check that the driver and contact details are correct. Review any unresolved agreement questions with the rental provider, including the process for reporting damage and obtaining assistance. This guide cannot interpret your coverage or decide a contractual dispute. Ask the provider, insurer or qualified adviser about anything unclear.
Then write down the name or role of the person conducting the handoff. Use that detail to identify the conversation, not as a substitute for a written record. If an issue is discussed, ask where it appears on the final condition report and obtain your copy before leaving.
Use this pickup-and-return record
The table below is an original worksheet to use alongside the rental company’s required forms. Copy it into a note or print the page. For each row, record an observation, a photo reference where useful and any staff response. Leave an item marked unresolved if it has not been checked.
| Record item | At pickup | At return |
|---|---|---|
| Vehicle and agreement | Match the vehicle identifier and reservation paperwork | Match the return receipt to the same vehicle and agreement |
| Exterior condition | Wide views plus close views of existing marks | Repeat the same accessible views before handoff |
| Cab and interior | Record visible condition and supplied equipment | Record condition, cleaned areas and returned inventory |
| Meters and levels | Record the readings staff use for billing and return terms | Record final readings and retain relevant receipts |
| System orientation | Note demonstrated, not demonstrated or unresolved | Record any problem reported during the trip |
| Keys and accessories | List what is supplied and where it is stored | Confirm what is handed back and to whom |
| Open issues | Written description and agreed next step | Written handoff record and any pending review |
How should you photograph the RV?
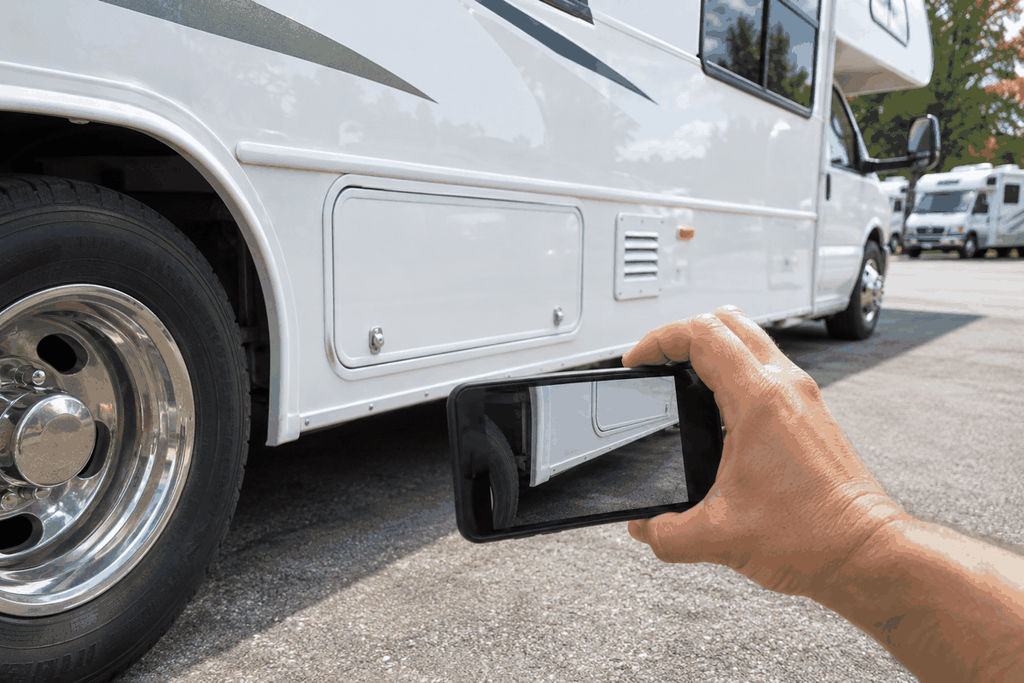
Begin with wide views that show each accessible side of the stationary vehicle. Then take closer views of visible marks, damage or missing pieces. A close-up is more useful when a wider image shows where it belongs. Keep the original files so you retain the context and sequence.
Next, photograph the interior before loading your belongings. Include the main living area, cab, sleeping spaces and other accessible areas relevant to the condition report. Ask staff before opening compartments, and avoid including other customers or private documents in your images.
Stay on the ground and within the permitted inspection area. Do not climb onto the roof or crawl beneath the vehicle to complete a photo list. Ask staff how inaccessible areas are assessed and documented. If a concern requires a technician, an extra photo does not replace that assessment.
Separate visible condition from mechanical safety
Your walkaround can identify questions to raise with the rental provider. It cannot establish that brakes, tires, steering or other systems are mechanically sound. If you see damage, a warning or anything that concerns you, stop the handoff and ask the responsible staff member to assess it.
Also avoid diagnosing a problem from a brief look. “A warning light remained on during the demonstration” records what happened. “The sensor is bad” guesses at the cause. The first statement gives the provider a clear issue to resolve without suggesting a repair that may be wrong.
Do not drive away with an unresolved safety concern because a schedule is tight. Ask for an appropriate assessment and an explanation of the next step. A promise to discuss it later is different from having the concern resolved. Use the provider’s support process if the handoff staff cannot answer.
Ask staff to demonstrate the actual RV
Bring the RV rental inspection checklist through the orientation rather than trying to remember everything afterward. Ask staff to explain the controls and safe operating sequence for the vehicle supplied. If you watched a generic video, confirm which features and instructions differ on this particular unit.
Cruise America’s renter resources include orientation material and an assistance guide. El Monte RV’s guest guides are organized by vehicle type. Save the correct material, then use the provider’s assistance contact when you need help with the actual rental.
- Ask staff to identify driving controls, warning indicators and the vehicle’s dimensions.
- Confirm the approved travel seating and where the relevant instructions are kept.
- Have staff explain the supplied electrical connections and permitted power sources.
- Request the correct water, tank and waste-handling demonstration for the unit.
- Ask about appliance operation, limitations and any seasonal restrictions.
- Review securing doors, steps, storage and other travel-position items.
- Locate emergency information and the provider’s on-road assistance procedure.
Then repeat the explanation back in your own words and ask staff to correct any misunderstanding. If a demonstration cannot be completed, record that fact and ask what it means for your trip. Do not mark an item as working merely because someone pointed to its switch.
What should you record about meters and supplies?
Ask staff which readings are used to calculate charges or confirm the required return condition. Depending on the rental, the relevant record may include mileage, generator use, fuel and other levels. Use the exact units and labels on the provider’s paperwork rather than converting them from memory later.
Next, compare the recorded readings with what staff show you. If a display is unclear, ask for help before signing the condition form. Keep a photo when permitted and make sure the same starting value appears in your copy. A disagreement is easier to address while both parties can see the vehicle.
Also count the supplied items that matter under your agreement. Ask where keys, cables, hoses, manuals and any rented kits belong. Note missing or damaged items in the official record. Do not buy replacement equipment or assume you will be reimbursed without following the provider’s approval process.
Build a clear record of unresolved items
A useful issue note has four parts: what you observed, where it is, when it was observed and the response received. Add a photo reference if appropriate. Then record whether the item was resolved, referred to another person or still open. Keep the language factual and specific.
| Vague note | More useful record | Next question |
|---|---|---|
| Side looks damaged | Visible mark on the passenger-side storage door; wide and close photos saved | Is this recorded as existing condition on my copy? |
| Appliance seems fine | Staff demonstrated the named appliance under the stated conditions | Which instructions and limitations apply during the trip? |
| Something is missing | The listed accessory was not present during inventory | Will it be supplied, or will the agreement be corrected? |
| Office will sort it out | Named issue referred to the responsible contact; response still pending | What must be resolved before departure? |
Do not change a factual record into a guarantee. Staff acknowledgment that a mark exists does not automatically settle every later charge. However, a shared, dated record is more useful than an unsupported recollection. Ask the company how to submit and retain the required evidence.
Before you leave the pickup location
Review the open items with staff and confirm that you have the final paperwork. Next, make sure you can find the correct assistance number and understand when to use it. An emergency and a routine equipment question may require different responses; follow the supplied instructions.
Also confirm the return appointment, location and required condition before those details become a last-day problem. Ask how late arrival, after-hours handoff or a changed itinerary should be handled. Do not assume the return process is identical to pickup or to a previous rental.
Keep the first travel leg realistic. Our RV travel-day planner can help you allow time for the handoff and campsite arrival. If the vehicle or pickup time changes, revisit the plan instead of trying to recover lost time with a rushed drive.
Keep a simple record during the rental
If a problem develops, follow the provider’s reporting process promptly. Record the location, time, observed symptoms and advice received. Keep any case number and approval for work with the trip documents. Do not authorize repairs on the assumption that every expense will be reimbursed.
Likewise, keep receipts for services or supplies relevant to your return terms. Label them while you remember what they cover. A fuel receipt and a condition photo serve different purposes, so retain both when useful. Avoid sending payment-card details or other unnecessary personal information in routine reports.
For general background, our RV refrigerator guide explains equipment categories. However, the rental’s manual and support team should direct operation and troubleshooting for your unit. A general article should not override provider instructions or become a reason to attempt an unauthorized repair.
Prepare the return inspection before the last morning
Read the return requirements again while you still have time to act on them. Check the appointment, route, required cleaning, applicable levels and inventory. Then ask the provider about anything unclear. Avoid relying on a checklist from another company, since the agreement for this rental controls the handoff.
Plan any required stops with enough time for the actual vehicle. Also keep the related receipts together and note which tasks are complete. Use our RV trip cost calculator for the broader budget, but reconcile the rental itself against the provider’s itemized charges and your agreement.
Finally, remove your belongings and check the spaces you used. Look in cupboards, charging areas, sleeping spaces and the cab without dismantling anything. Keep the provider’s equipment separate from your own. A deliberate final sweep is easier before you hand back the keys.
Repeat the RV rental inspection checklist at return
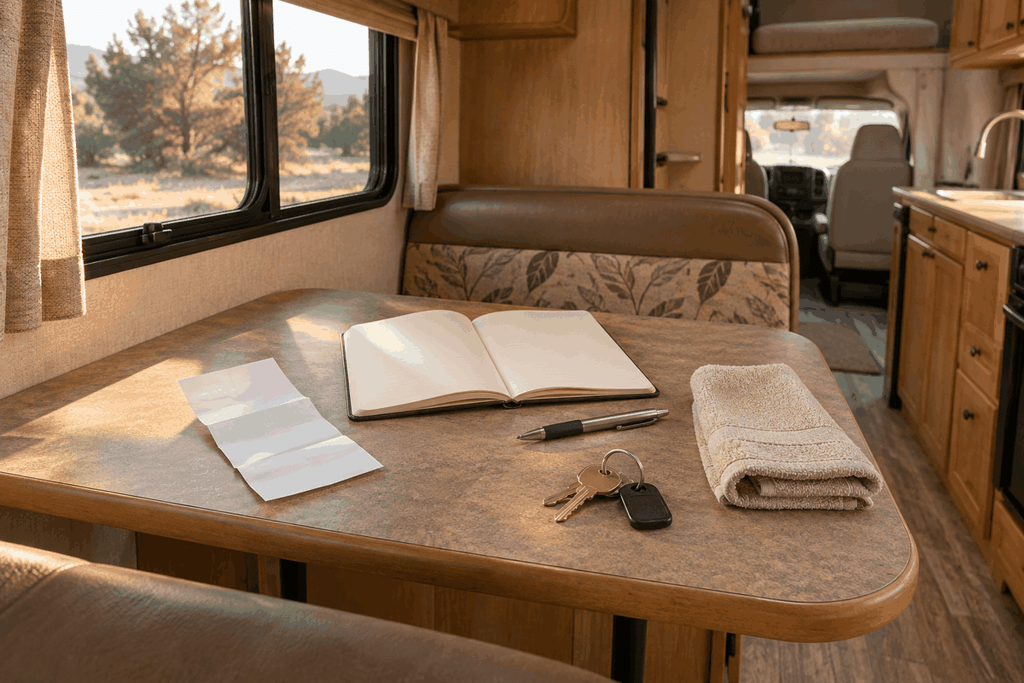
Take matching photos of the accessible exterior and interior before handing over the vehicle. Next, record the readings used for final billing and compare the inventory with your pickup list. Use the same sequence where practical so the records are easier to compare.
Ask for a return receipt or condition record that states what was checked and what remains under review. If staff identify an issue, ask them to describe it specifically and explain the process for responding. Keep the conversation calm and retain your own evidence without altering the original files.
If an approved after-hours return is necessary, follow the company’s written instructions for parking, keys, documentation and timing. Do not assume that dropping keys in a box ends every responsibility immediately. Ask how the handoff is recorded and when you will receive the final paperwork.
Review the final statement against your records
Compare the itemized statement with the agreement, recorded readings and receipts. Then ask the provider to explain any difference you cannot reconcile. Identify the specific line item and provide the relevant evidence through the official channel. Avoid assuming that every pending card entry is a settled charge.
Also ask which items are still awaiting review and what follow-up process applies. Release timing and dispute procedures depend on the agreement, provider and payment issuer. This article does not promise a deadline or a refund. For an unresolved contractual or coverage question, seek appropriate qualified advice.
Keep the complete record until the rental and any open questions are resolved. Once you no longer need it, handle personal documents thoughtfully. Photos should document the vehicle and handoff; they should not become a public collection of other customers’ faces, staff personal information or payment details.
Frequently asked questions
Does an RV rental inspection checklist replace the company’s form?
No. Use it alongside the required rental paperwork and reporting process. Your own notes help organize observations, but the provider may require a particular form, app or submission method.
Should I climb onto the RV roof to take photos?
Stay within the permitted inspection area and do not climb onto the roof or beneath the vehicle for a checklist. Ask staff how inaccessible areas are assessed and documented. A renter walkaround is not a professional mechanical inspection.
What if a system cannot be demonstrated at pickup?
Record that it was not demonstrated and ask what that means for your rental. Resolve safety concerns before departure, and obtain the provider’s instructions and any agreed next step in writing.
Will pickup photos guarantee my deposit is returned?
No. Photos support a condition record, but they do not override the agreement or decide every charge. Keep matching return records, receipts and the provider’s written handoff documents as well.
What is the most useful return document to request?
Ask for the provider’s return receipt or condition record, with the vehicle identified, relevant readings recorded and any unresolved items described. Also retain the itemized statement and the contact for follow-up questions.
Research method and a final handoff check
This RV rental inspection checklist is an original editorial planning aid based on the linked provider resources and a practical recordkeeping workflow. It does not rank rental companies or claim firsthand vehicle testing. Review the current instructions for the company, location and vehicle on your reservation.
By Jeremy Jarvis, publisher of Freedom Road Living. Before departure, make sure you have the correct documents, a clear condition record, the required orientation and a response to every safety concern. At return, repeat the record and obtain the handoff paperwork. Keep both sets together until the rental is fully reconciled.
Keep planning
- How to Rent an RV: Costs, Options, and a First-Timer’s Checklist
- Track where RV condensation in winter forms in a parked RV
- RV Sewer Hose Support: How Much Slope You Need and What to Buy
- RV Campsite Cell Signal Test: How to Check Before You Rely on a Work Call
Go deeper: RV Living hub · RV Rental vs. Purchase Calculator · RV Trip Cost Calculator

Written by Jeremy Jarvis
Jeremy Jarvis is the founder and editor of Freedom Road Living, where he builds research-based guides and free planning tools for people who live, work and travel in an RV. He sets the site's editorial standards, checks every guide against official sources such as the National Park Service and manufacturer documentation, and is responsible for corrections. Jeremy also founded Eco Nomad Travel, Mind Clarity Hub, SilkHarborTravel and WanderOza Travel, and he is the author of books on clarity, focus and practical AI, including The Power of Clarity and Digital Clarity.
Questions and comments