
RV Solar Panels: How to Size, Choose, and Install Solar Power for an RV
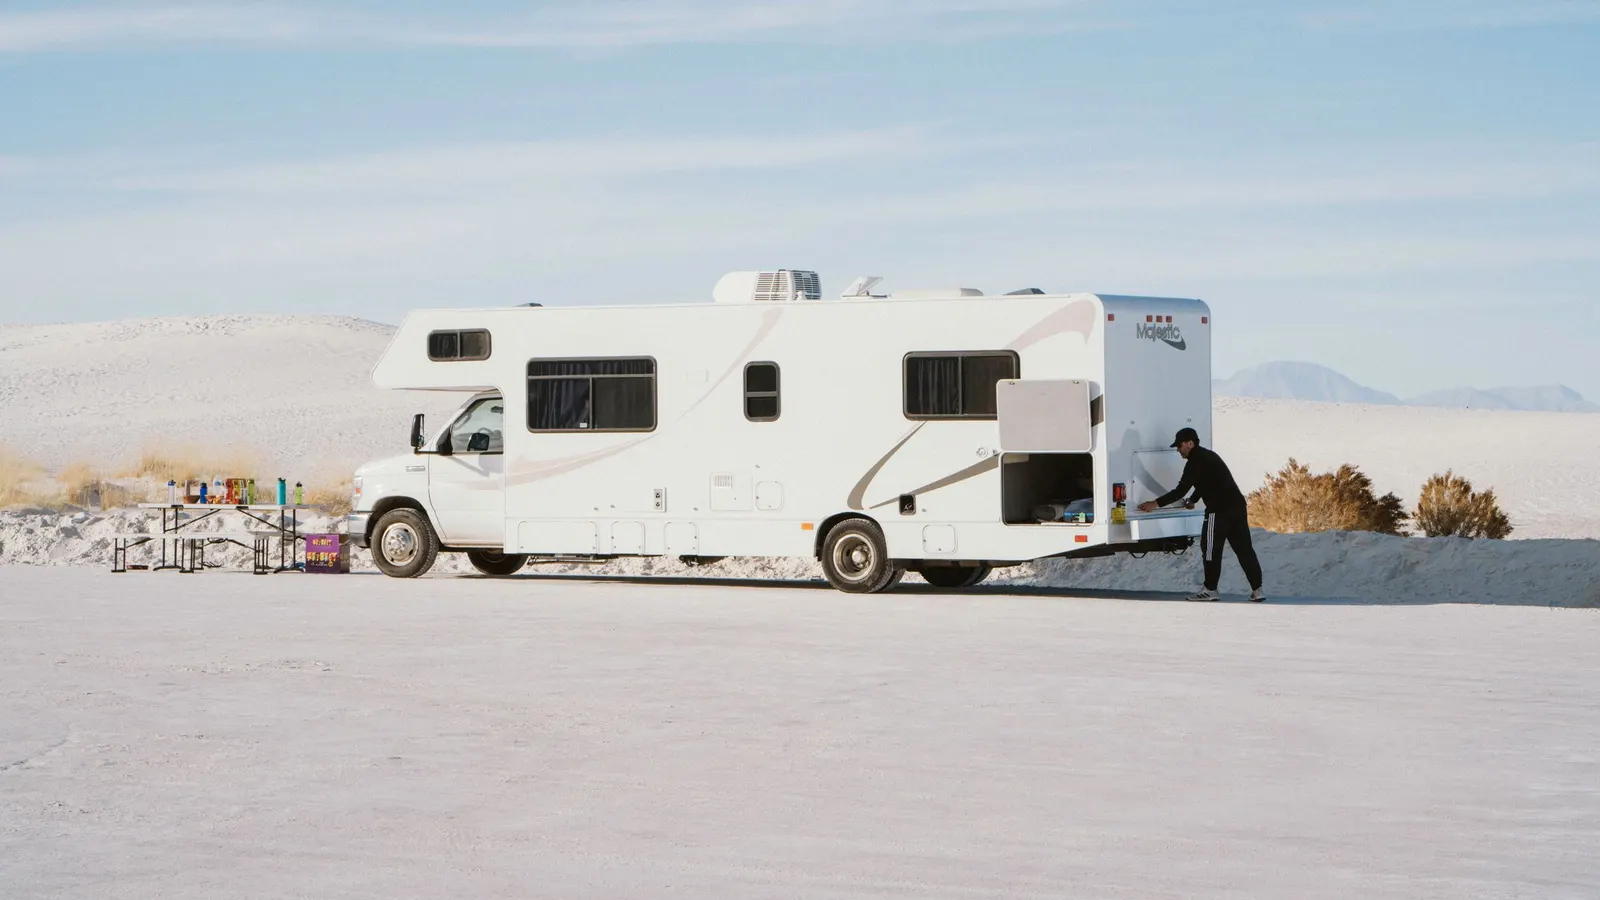
RV solar panels turn sunlight into free, silent power for lights, electronics, a fridge and more, and they let you camp for days without hookups or a generator. However, getting solar power for RV use right takes more than bolting panels to the roof. You need the right amount of panel wattage for your daily use, a charge controller that fits the panels, and batteries that can store what the panels produce. This guide walks through each decision in order, so you can size and choose a system with confidence.
Last reviewed and updated: September 30, 2026. Written by Jeremy Jarvis.
Key takeaways
- Size RV solar panels from your daily watt-hours and the sun hours where you camp, not from roof space alone.
- Real panel output is usually well below the label, because ratings use ideal test conditions.
- MPPT charge controllers make the most of higher-voltage panels and cold, sunny days.
- Solar handles lights, electronics and a 12-volt fridge well; air conditioning usually needs shore power or a generator.
How solar power for RV systems works
An RV solar system has four main parts, and each one depends on the others. First, the panels convert sunlight into DC electricity. Second, a charge controller regulates that power so it charges the batteries safely. Third, the battery bank stores energy for night and cloudy days. Fourth, an inverter, if you have one, converts battery power to 120-volt AC for household outlets.
Because the parts work as a chain, the weakest link limits the whole system. For example, a large array paired with a small battery wastes energy on sunny afternoons, while a big battery bank with too few RV solar panels never fully recharges. So, size them together.
How to size RV solar panels in four steps
The most reliable way to size a system starts with your own energy use, not with a kit or a roof measurement.
- Find your daily watt-hours. List each device’s watts and hours of use per day, then add them up. A battery monitor with a shunt gives the most accurate figure.
- Find your sun hours. Peak sun hours vary with location and season. NREL’s free PVWatts tool estimates solar production for any location.
- Allow for losses. Heat, wiring, dirt, shading and panel angle all reduce output. Many planners allow a loss factor of roughly a quarter.
- Divide. Panel watts needed are roughly daily watt-hours divided by sun hours, then divided again by the fraction left after losses.
Here is a worked example. Suppose you use 1,500 watt-hours a day and camp where you average 4.5 peak sun hours. With a 25 percent loss allowance, you need about 1,500 divided by 4.5, divided by 0.75, which is roughly 445 watts of panels. So a system of around 450 to 500 watts would fit. Our free RV Solar Sizing Calculator does this math instantly and also sizes the battery bank and charge controller.
Free download: The Full-Time RV Launch Checklist
Our 16-page planner: a 12-month countdown, inspection checklist, budget and weights worksheets and a maintenance calendar. Free and printable.
Why RV solar panels produce less than the label says
New solar owners are often surprised that a 200-watt panel rarely delivers 200 watts. The reason is simple. Panel ratings are measured under standard test conditions, which represent ideal, bright light at a cool cell temperature. On a real RV roof, conditions are rarely ideal.
- Heat: panels lose efficiency as they get hot, and a sunny roof gets very hot.
- Angle: panels mounted flat on a roof catch less sun in the morning, evening and winter than panels tilted toward the sun.
- Shade: even partial shade from a tree, air conditioner or vent can cut output sharply.
- Season and latitude: winter days are shorter and the sun is lower, especially in the northern United States and Canada.
- Dirt: dust and pollen on the glass reduce output until you clean it.
Therefore, plan conservatively. It is better to have a little more panel wattage than your math suggests than to fall short on cloudy stretches.
Types of RV solar panels compared
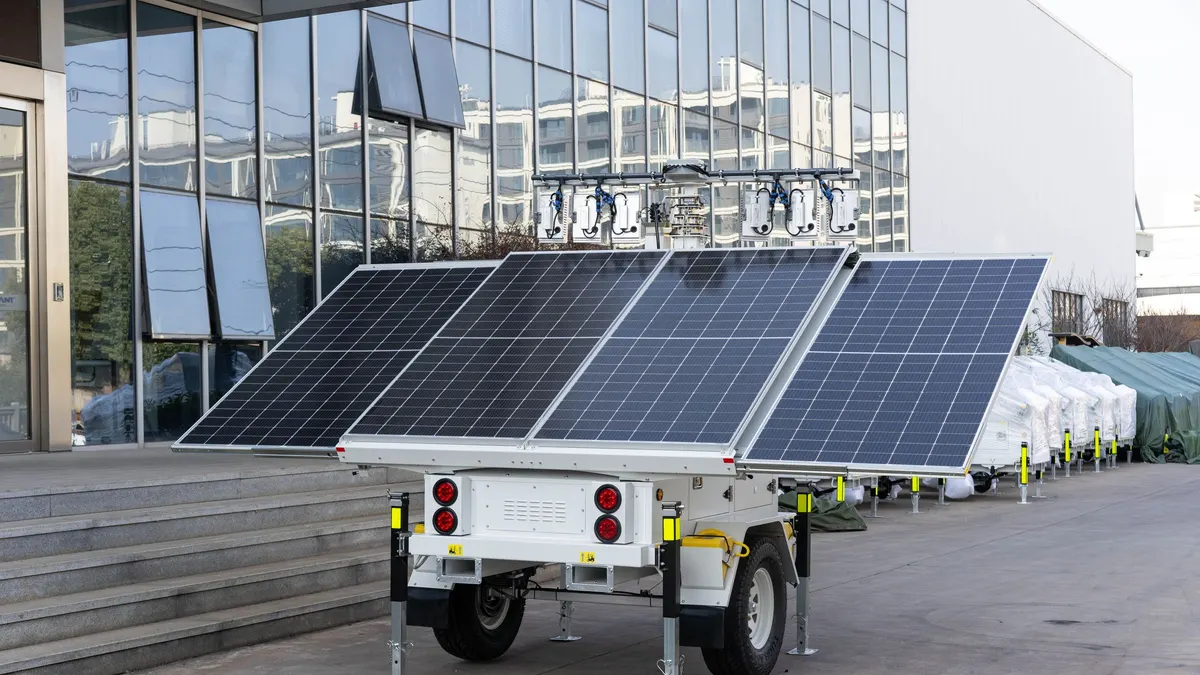
RV solar panels come in three main forms. Each suits a different kind of rig and travel style.
| Type | Strengths | Weaknesses | Best for |
|---|---|---|---|
| Rigid roof-mounted panels | Durable, run cooler with airflow underneath, always ready | Heavier, fixed angle, need roof mounting | Most motorhomes and trailers with flat roof space |
| Flexible panels | Light, low profile, fit curved roofs and vans | Can run hot when bonded flat; often shorter lifespan | Vans, curved roofs and weight-sensitive rigs |
| Portable folding panels | Can be aimed at the sun and placed in sun while the RV stays in shade | Must be set up and stored, can be stolen | Campers who park in shade or want to add capacity |
Many RVers combine types. For instance, they mount rigid panels on the roof for everyday charging and carry a portable panel to top up when they camp under trees.
Choosing a charge controller for RV solar panels
The charge controller sits between the panels and the batteries. It protects the batteries from overcharging and manages how solar energy is delivered. There are two main types.
PWM controllers
Pulse-width modulation controllers are simple and inexpensive. They work best on small systems where the panel voltage is close to the battery voltage. However, they waste some of the panel’s potential when panel voltage is much higher.
MPPT controllers
Maximum power point tracking controllers convert higher panel voltage into additional charging current. As a result, they harvest more energy from the same panels, especially on larger systems and in cold, bright conditions. They also let you wire panels in series for thinner cables. Most modern RV solar systems of a few hundred watts or more use MPPT.
Whichever you choose, check two limits carefully: the maximum input voltage and the maximum charging current. Panels in series can exceed a controller’s voltage limit on cold mornings, when panel voltage rises. Also, set the controller to the battery maker’s recommended charging profile.
Batteries: where solar power for RV use is stored
RV solar panels only produce power while the sun shines, so the battery bank decides how well you get through the night and cloudy days. Lithium iron phosphate (LiFePO4) batteries have become the most common choice for solar systems, because you can use most of their rated capacity and they accept charge quickly, which makes the most of short winter days. Our RV lithium battery guide explains sizing, charging settings and cold-weather rules in detail.
As a rule of thumb, match the battery bank to at least a day or two of your use. Then make sure your panels can refill a typical day’s use in a typical day’s sun. If they cannot, you will slowly drain the bank over a stretch of camping.
Roof-mounted or portable solar?
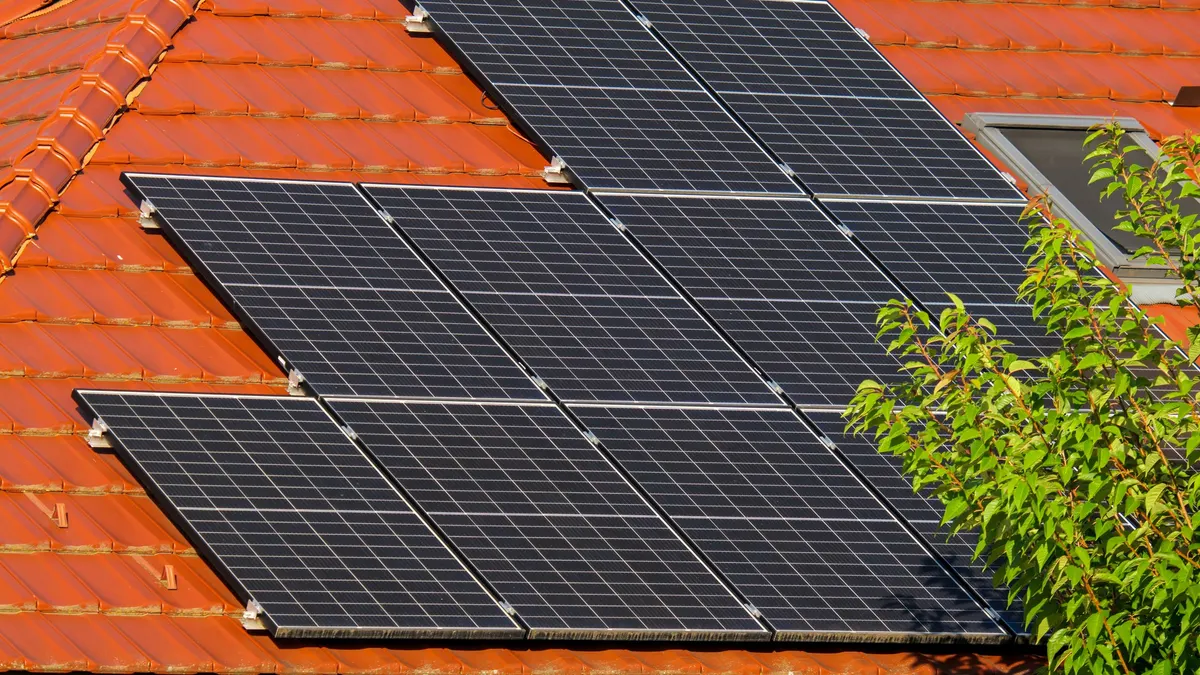
Roof-mounted RV solar panels are convenient. They charge whenever the RV is in the sun, including while you drive, and there is nothing to set up. However, they are fixed flat on most rigs, and they only work if your campsite is sunny.
Portable panels solve the shade problem. You can park the RV under trees for coolness and set the panels in a sunny clearing, aimed at the sun. The trade-offs are setup time, storage space and security. Many boondockers use both: a modest roof array for everyday charging plus a portable panel for extra power when needed. If you use a portable power station instead of a built-in system, our guide to the portable power station for camping covers matching panels to its solar input.
What RV solar panels can realistically power
Setting expectations saves money and frustration. A well-sized solar power for RV system handles these loads well:
- LED lights, fans, the water pump and the furnace blower.
- Phones, laptops, tablets and a Wi-Fi router.
- 12-volt compressor fridges.
- Satellite internet dishes during work hours, such as Starlink for RV setups.
- TVs and streaming devices for a few hours.
By contrast, high-power appliances are harder. Air conditioners, electric space heaters, hair dryers and microwaves draw large amounts of power. Short bursts of microwave use may work with a large battery and inverter, but running air conditioning for hours usually needs shore power or a generator. Our RV inverter guide explains how to size an inverter for the AC loads you do plan to run.
Installing RV solar panels safely
Solar installation combines roof work, DC wiring and battery connections, so it is worth doing carefully or hiring a professional. Victron’s free Wiring Unlimited guide is a thorough technical reference, and most installations follow the same principles.
- Mount securely. Use mounts rated for highway speeds and seal every roof penetration to prevent leaks.
- Size cables for the current. Undersized cables waste power as heat and can be a fire risk.
- Fuse and disconnect. Include fuses or breakers between panels, controller and battery, plus a way to disconnect the array.
- Keep the controller close to the battery. Short, thick cables from controller to battery improve charging.
- Follow the manuals. Controller and battery manufacturers’ instructions come first.
If you are not confident with DC electrical work, have a qualified RV technician or solar installer do the job. A professional install also protects your RV’s roof warranty.
RV solar panels in winter and cloudy weather
Solar output drops in winter for three reasons. First, days are shorter. Second, the sun sits lower in the sky, so flat-mounted panels catch it at a poor angle. Third, clouds and snow cover cut output further. As a result, a system that keeps up easily in summer may fall short in December, especially in the northern United States and Canada.
Fortunately, there are several ways to cope. For example, you can tilt panels toward the sun where your mounts allow, add a portable panel you can aim, or carry extra battery capacity for cloudy stretches. In addition, reducing your daily use in winter, such as switching to 12-volt devices and shorter screen time, helps the numbers balance. Finally, many RVers simply plan winter travel for sunnier regions, such as the desert Southwest.
Maintaining RV solar panels
RV solar panels need little maintenance, but a few habits keep output high. To begin with, clean the glass when it looks dusty, using water and a soft brush, and avoid harsh chemicals. Next, check mounts and sealant on the roof during your regular roof inspections, because a loose mount or cracked sealant can lead to leaks. Also, look over connectors and cables for wear, especially where they enter the roof. Meanwhile, keep an eye on your controller’s daily harvest numbers. If output drops suddenly on sunny days, something needs attention.
Common RV solar mistakes
- Buying panels before measuring use. Size from daily watt-hours, not from what fits on the roof.
- Ignoring shade. An air conditioner shroud or roof vent can shade a panel for part of the day.
- Exceeding controller limits. Cold weather raises panel voltage, which can exceed a controller’s rating.
- Undersizing batteries. Without enough storage, sunny-day energy goes to waste.
- Skipping fuses. Every source of current needs protection.
How to budget for RV solar panels
Prices change often, so rather than quoting numbers that go stale, budget the system as a whole. The panels are only one part.
- Panels sized from your daily use.
- A charge controller that fits the panel voltage and current.
- Batteries sized for one or more days of use.
- An inverter, if you need AC outlets off-grid.
- Mounts, cables, connectors, fuses and a disconnect.
- Installation labor, if you hire it out.
Kits bundle panels, a controller and cables, which can simplify buying. However, check that the controller in a kit can handle the panels you might add later. To compare options, you can browse RV solar panel kits with MPPT controllers and portable folding solar panels on Amazon, then check each product’s specifications against your sizing.
RV solar panels checklist
- Measure your daily watt-hours, ideally with a battery monitor.
- Estimate sun hours for where and when you camp.
- Size panels with a loss allowance, then round up.
- Choose a controller whose voltage and current limits fit your panels.
- Match the battery bank to one or two days of use.
- Plan roof space, shading and whether to add a portable panel.
- Plan fusing, cables and a disconnect before you buy parts.
Get these steps right, and RV solar panels will quietly recharge your batteries every sunny day, making longer off-grid stays easy. For more power planning, visit our Solar & Power hub.
Frequently asked questions about RV solar panels
How many solar panels do I need for my RV?
Work it out from your daily energy use. Divide your daily watt-hours by the peak sun hours where you camp, then allow for losses from heat, wiring and panel angle. Our free RV Solar Sizing Calculator does this math for you.
Can RV solar panels run an air conditioner?
Usually not for long. Air conditioners draw a lot of power for hours at a time, which would need a very large battery bank and more panels than most roofs can hold. Most RVers run air conditioning on shore power or a generator.
Are flexible or rigid solar panels better for an RV?
Rigid panels are generally more durable and run cooler because air flows under them. Flexible panels are lighter and lower-profile, which suits curved roofs and vans, but they can run hotter when glued flat to the roof.
Do I need an MPPT charge controller for RV solar?
Not always, but an MPPT controller converts higher panel voltage into charging current more efficiently than a basic PWM controller, which helps most on larger systems and in cold, bright conditions. Check the controller’s voltage and current limits against your panels.
Is solar power for RV use worth it?
It is often worth it if you camp without hookups regularly, because it quietly recharges batteries every sunny day. If you mostly stay at campgrounds with power, the benefit is smaller.
Sources and how we researched this guide
This guide is research-based. We did not install or test the panels or brands named here. The sizing method matches our RV Solar Sizing Calculator, and technical guidance draws on NREL solar resource tools and charge controller and battery manufacturer documentation. Have a qualified installer check wiring, fusing and roof mounting. Found something out of date? Tell us and we will check it against the source.
- U.S. Department of Energy: homeowner’s guide to solar
- Victron Energy: Wiring Unlimited (DC system design)
- Victron Energy: Lithium Battery Smart 12.8 V
- NFPA 1192: standard on recreational vehicles
Keep planning
- How to Dump RV Tanks: A Clean, Step-by-Step Guide to Black and Gray Tanks
- RV Generator Guide: Sizing, Fuel Types, Campground Rules, and Safety
- RV Inverter Guide: Sizing, Pure Sine Wave, and Safe Installation
- RV Lithium Battery Guide: Sizing, Charging, and Upgrade Costs
Go deeper: Solar & Power hub · RV Solar Sizing Calculator · Battery Runtime Calculator · Portable Power Station Selector

Written by Jeremy Jarvis
Jeremy Jarvis is the founder and editor of Freedom Road Living, where he builds research-based guides and free planning tools for people who live, work and travel in an RV. He sets the site's editorial standards, checks every guide against official sources such as the National Park Service and manufacturer documentation, and is responsible for corrections. Jeremy also founded Eco Nomad Travel, Mind Clarity Hub, SilkHarborTravel and WanderOza Travel, and he is the author of books on clarity, focus and practical AI, including The Power of Clarity and Digital Clarity.