
Starlink for RV: Plans, Power Draw, and Setup for Life on the Road
Starlink for RV travel has changed where people can live and work on the road. A small dish on the roof or a picnic table can now bring fast internet to campsites that have no cell signal at all. However, choosing the right Starlink RV setup still takes planning. You need the right plan, a dish your batteries can support, a clear view of the sky and a backup for the days satellite service struggles. This guide covers each of those decisions in order.
Last reviewed and updated: September 30, 2026. Written by Jeremy Jarvis.
The short answer: is Starlink for RV travel worth it?
For most full-time RVers and anyone who works from the road, yes. Starlink reaches places that cellular networks do not, especially in the rural West and deep in national forests. On the other hand, weekend campers who mostly stay near towns may get by with a phone hotspot. The deciding question is simple: how often do you camp where cell service is weak, and how much would a lost connection cost you?
If you are unsure, our free RV Internet Setup Selector suggests a primary and backup plan based on how and where you travel.
Starlink Roam plans for RV travel compared
Starlink sells mobile service under the Roam name. The table below shows the Roam plans as listed on Starlink’s Roam page on September 30, 2026. Prices and plan names change often, so confirm current terms on starlink.com before you order.
| Plan | Listed starting price | High-speed data | Coverage area | Best for |
|---|---|---|---|---|
| Roam 100GB | $55/mo | 100GB, then unlimited low-speed data | US and Canada | Occasional trips and weekend campers |
| Roam 300GB | $80/mo | 300GB, then unlimited low-speed data | US and Canada | Regular travelers and light remote work |
| Roam Unlimited | $175/mo | Unlimited high-speed data | 160+ countries and territories | Full-time remote workers and international travel |
Starlink describes Roam 100GB as roughly a week of typical use. Therefore, a full-time RVer who streams and works online will usually outgrow it quickly. To estimate your own needs, run your calls, uploads and streaming through our Remote-Work Data Usage Calculator before you choose a tier.
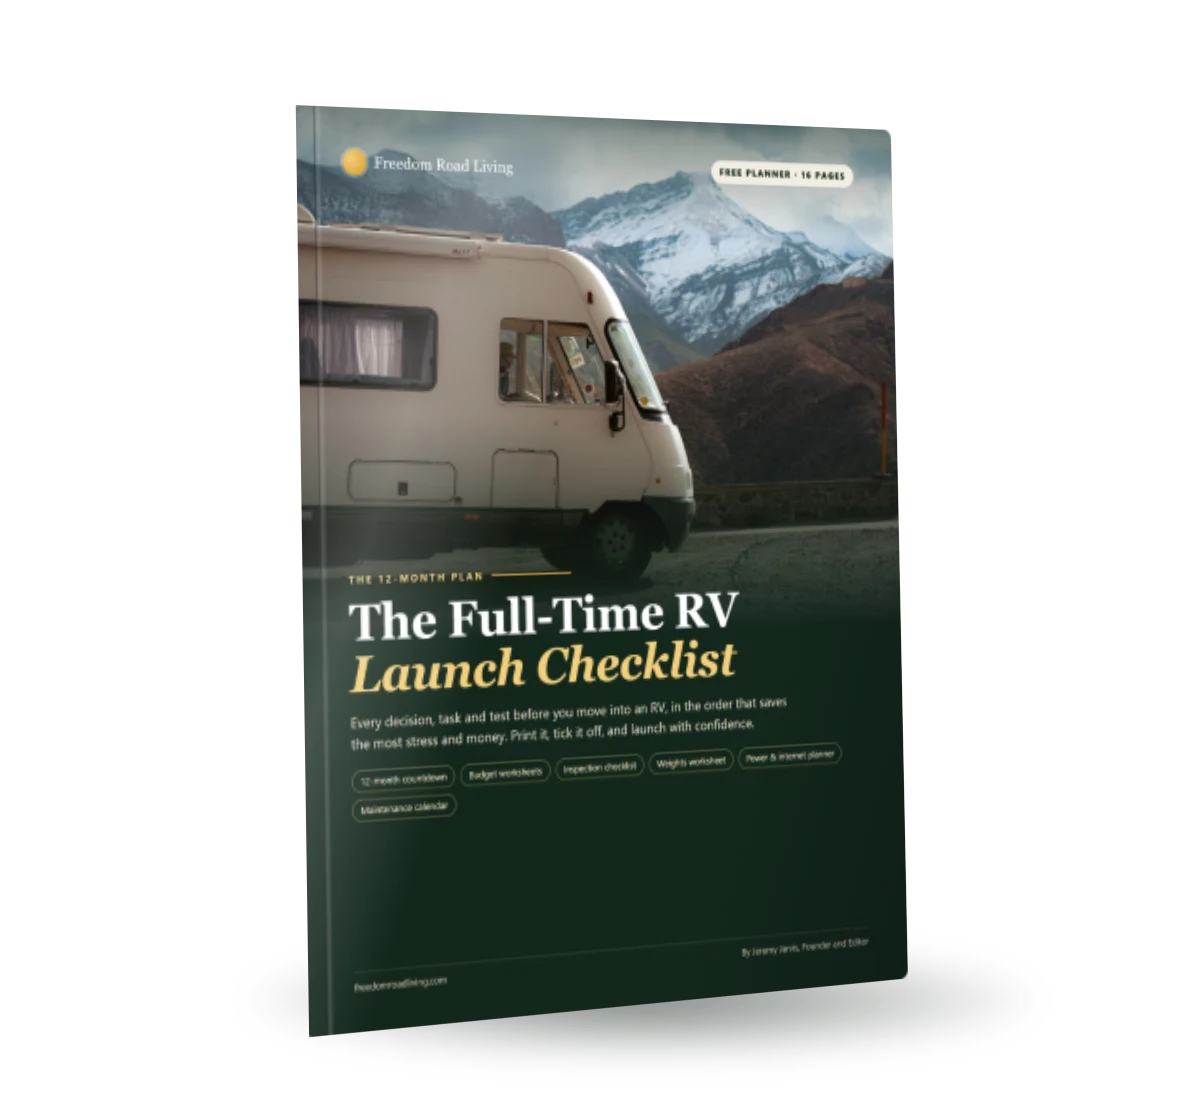
Free download: The Full-Time RV Launch Checklist
Our 16-page planner: a 12-month countdown, inspection checklist, budget and weights worksheets and a maintenance calendar. Free and printable.
Starlink also offers Standby Mode, which pauses service for a small monthly fee while keeping emergency messaging and easy reactivation. Because billing runs in one-month increments, many seasonal RVers pause between trips instead of cancelling.
Starlink Mini vs Standard for an RV
The second big choice is hardware. Starlink for RV use usually means one of two dishes: the compact Mini or the larger Standard. Both appear in Starlink’s specification sheets with a 110-degree field of view and an IP67 weather rating. The differences are size, weight and, above all, power.
| Specification | Starlink Mini | Starlink Standard |
|---|---|---|
| Average power consumption | 25-40W | 75 – 100 W |
| Power input | 12-48V DC, 60W input rating | AC power supply |
| Dish weight | 1.10 kg (2.43 lb) | 2.9 kg (6.4 lb) |
| Router | Built in | Separate Router 3 |
| Listed Wi-Fi coverage | Up to 1,200 square feet | Up to 3,200 square feet |
| Operating temperature | -22F to 122F | -22F to 122F |
For most boondocking RVers, the Mini is the easier fit. It runs directly from 12-volt power, packs into a drawer and draws much less energy. In contrast, the Standard makes more sense for large rigs that are usually on shore power, or for households that need wider Wi-Fi coverage.
Power planning for a Starlink RV setup
Off-grid, power is where a Starlink RV setup succeeds or fails. The math is straightforward. Multiply the dish’s average draw by the hours you use it each day. For example, a Mini averaging around 30 watts for 8 working hours uses about 240 watt-hours a day. Meanwhile, a Standard averaging around 90 watts for the same 8 hours uses about 720 watt-hours, before you count laptops.
That difference matters a great deal on batteries. A 100 amp-hour lithium battery stores roughly 1,280 watt-hours, so a Mini leaves plenty of room for laptops and a fridge, while a Standard can consume a large share of the bank on its own. Our guides to the RV lithium battery and to choosing a portable power station for camping walk through the sizing in detail.
- Run the Mini on DC when you can. Powering it directly from 12 volts, or from a high-wattage USB-C port with Starlink’s cable accessory, avoids inverter losses.
- Turn it off overnight. If you do not need internet while you sleep, switching the dish off can save a meaningful share of your daily energy.
- Check your solar budget. Add the dish to your daily watt-hours before you size panels.
Mounting Starlink on an RV
There are three common ways to set up Starlink for RV use, and each has trade-offs. First, a ground or table setup on the included kickstand is free and flexible. You can move the dish away from trees to find clear sky. However, you have to set it up and pack it away at every stop.
Second, a removable pole or ladder mount raises the dish above nearby obstructions. It is still quick to take down, and it keeps cable runs short. Third, a permanent flat roof mount keeps the dish ready at all times, and it is the setup most often used for in-motion service. Even so, a roof mount cannot be repositioned when trees block the view, and any roof penetration must be sealed carefully to prevent leaks.
Many full-timers combine methods. For example, they flat-mount on the roof for travel days and carry a long cable so they can move the dish to a clearing when they camp under trees.
Obstructions: the biggest Starlink RV problem
Starlink needs a clear view of a wide patch of sky. Trees, canyon walls and even your own awning can cause short dropouts that interrupt video calls. As a result, where you park matters as much as which plan you buy.
- Before you commit to a site, use the obstruction check in the Starlink app.
- Choose sites in open meadows, desert flats or lake shores rather than dense forest.
- Raise the dish on a pole, or move it away from the RV with a longer cable.
- Schedule important calls for times when you know the connection has been stable.
This is also why a cellular backup is so valuable. When the trees win, your phone signal may still be usable.
Can you use Starlink for RV travel while driving?
Starlink states that in-motion use is supported with Roam service plans in select areas. That lets passengers stay online between campsites. However, the dish must be mounted securely for travel, typically with a flat mount rated for driving. Never set up, adjust or handle a dish while the vehicle is moving, and check Starlink’s current terms for your plan and area before relying on in-motion service.
Remote work with Starlink for RV living: build a backup
If your income depends on the connection, one path is never enough. Satellite service can drop under heavy tree cover, in severe weather or during congestion. Therefore, most remote workers who use Starlink for RV living pair it with at least one cellular option.
- Primary: Starlink, for remote campsites and heavy data use.
- Backup: a cellular hotspot or phone plan on a different network from your phone, for tree-covered sites and quick stops.
- Emergency: your phone’s own data, plus offline copies of the files you need for the day.
Our RV Internet hub compares cellular plans, boosters and satellite options in more depth, and the Work From the Road hub covers the rest of a reliable mobile office.
How much data does a Starlink RV user need?
Data needs vary widely, so estimate before you pick a plan. Video calls and streaming drive most use. For instance, a couple who both work on camera most weekdays and stream in the evenings can use far more than a solo traveler who checks email and maps. Because Roam 100GB and 300GB drop to low-speed data after the allowance, underestimating means slow internet for the rest of the month rather than a surprise bill.
Two habits stretch any plan. First, lower video resolution on calls and streaming. Second, download large updates and files when you are on campground Wi-Fi or a strong cellular signal.
Starlink vs cellular for RV internet
Starlink and cellular are not really rivals. Instead, each covers the other’s weak spots. The comparison below shows why most full-timers end up with both.
| Factor | Starlink Roam | Cellular hotspot or phone plan |
|---|---|---|
| Remote campsites with no cell towers | Works with clear sky | Often no service |
| Dense trees and canyons | Frequent dropouts | Often better, if a tower is in range |
| Setup at each stop | Dish placement and power needed | Nothing to set up |
| Power use | Tens of watts or more, continuously | Very low |
| Busy towns and campgrounds | Can slow during congestion | Can slow when towers are crowded |
In practice, Starlink carries the heavy data at remote sites, while cellular covers quick stops, travel days and tree-covered camps. Our RV Internet hub explains how to choose a cellular backup that uses a different network from your phone.
Using Starlink for RV trips into Canada
Many RVers cross into Canada for summer travel. According to Starlink’s Roam page, the Roam 100GB and Roam 300GB plans cover travel anywhere in the US and Canada, while Roam Unlimited adds international coverage in 160+ countries and territories. So for a typical Canada trip, the smaller plans may be enough, but check the current terms before you cross. Also remember that cellular roaming rules differ from Starlink’s, so review your phone plan’s Canada coverage as well.
Protecting your Starlink RV gear
A dish that lives outside needs a little care. Starlink rates both dishes for harsh weather, including snow melt and high wind, according to its specification sheets. Even so, a few habits keep a Starlink RV setup working for years.
- Secure it against wind. A dish on a kickstand can blow over in gusts, so weigh down the base or use a mount.
- Protect the cable. Route cables away from slide-outs, doors and steps, where they can be pinched or tripped over.
- Stow it for travel. Unless it is flat-mounted for driving, pack the dish before you move.
- Deter theft. At busy campgrounds, keep portable dishes close to the RV and bring them inside when you leave for the day.
Finally, keep the dish’s surface clear of debris, and restart the system through the app before assuming hardware has failed. Many connection problems clear after a reboot or a better placement.
Who should skip Starlink for RV travel?
Starlink is not the right answer for everyone, and it is worth saying so plainly. You may be better off without it, at least for now, in these situations.
- You camp mostly near towns. If your phone already shows a strong signal at most of your campsites, a good cellular plan may cover you for less money and no extra power.
- You travel only a few weekends a year. Hardware plus even a few months of service can cost more than the occasional campground Wi-Fi or hotspot you actually need.
- Your power system is small. If you run on one small battery with no solar, adding a dish may drain it faster than you can recharge.
- You prefer to disconnect. For some campers, no signal is the point of the trip.
On the other hand, if you work remotely, camp off-grid often, or travel through rural regions with patchy coverage, Starlink for RV use is likely to pay for itself in reliability. As always, start with your own travel pattern, then choose the plan and hardware that fit it.
Starlink for RV: step-by-step setup checklist
Once your hardware arrives, work through this list before your first trip. It helps you find problems at home rather than at a remote campsite.
- Activate service and test the dish at home or at a campground with open sky.
- Measure its real power draw from your battery with a battery monitor.
- Decide on your mounting method and cable routing.
- Set up your backup cellular connection and test switching between them.
- Learn Standby Mode and billing so you can pause service between trips.
- Save Starlink support details offline in case you lose connection.
Starlink also advertises a 30-day trial with a full refund if you are not satisfied, according to its Roam page. That window is the ideal time to test the dish at the kinds of campsites you actually use.
Common Starlink RV mistakes to avoid
Most frustration with Starlink for RV travel comes from a few predictable mistakes. Avoid these, and the system is far more dependable.
- Buying the Standard for a small battery bank. Its higher power draw can drain a modest system quickly.
- Choosing the smallest plan for full-time work. Heavy video use can exhaust a limited allowance well before the month ends.
- Camping under dense trees on work days. Obstructions cause the dropouts that ruin calls.
- Skipping the backup. One connection is a single point of failure.
Plan the power, choose the plan that matches your data, park with the sky in mind and carry a backup. Do that, and Starlink for RV living turns remote campsites into a workable office.
Starlink for RV as part of a backup plan
Satellite works best as one layer in a connectivity plan rather than the only one. For example, many remote workers pair Starlink for RV with a cellular plan on a different network, so trees or a crowded sky never stop a workday.
- RV WiFi guide: campground WiFi, hotspots and routers that tie connections together.
- RV cell signal booster: improve weak cellular signal in fringe areas.
- eSIM for travel: data for trips to Canada and Mexico.
- Internet Redundancy Planner: check each backup layer you have in place.
Frequently asked questions about Starlink for RV travel
How much does Starlink for RV cost per month?
On September 30, 2026, Starlink’s Roam page listed Roam 100GB starting at $55 a month, Roam 300GB starting at $80 a month and Roam Unlimited starting at $175 a month, plus the cost of the hardware. Prices change, so check starlink.com before you order.
How much power does Starlink Mini use?
Starlink’s specification sheet lists an average of 25-40W for the Mini, with a 12-48V 60W input rating. The Standard dish lists an average of 75 – 100 W, so the Mini is far easier to run from batteries.
Can you use Starlink while driving an RV?
Starlink says in-motion use is supported with Roam service plans in select areas. The dish must be securely mounted for travel, and you should never set up or adjust equipment while driving.
Is Starlink reliable enough for remote work from an RV?
It can be, as long as the dish has a clear view of the sky. However, trees, canyons and heavy congestion can interrupt service, so remote workers should keep a cellular backup rather than relying on one connection.
Can I pause Starlink when I am not traveling?
Yes. Starlink describes Standby Mode, which lets you pause service for a small monthly fee while keeping emergency messaging and easy reactivation, and billing runs in one-month increments.
Sources and how we researched this guide
This guide is research-based. We did not test Starlink hardware for this article. Plan details come from Starlink’s Roam page as read on September 30, 2026, and hardware figures come from Starlink’s published Mini and Standard specification sheets. Starlink changes plans and prices often, so confirm on starlink.com before you buy. Found something out of date? Tell us and we will check it against the source.
- Starlink: Roam plans for travel
- Starlink Mini specification sheet (PDF)
- Starlink Standard specification sheet (PDF)
- Starlink support
Keep planning
- Full-Time RV Living: A Complete Guide to Planning, Costs and Life on the Road
- RV WiFi Guide: Campground WiFi, Extenders, Hotspots and Mobile Routers Explained
- eSIM for Travel: How Travel eSIMs Work for RV Trips to Canada, Mexico and Beyond
- RV Cell Signal Booster Guide: How Boosters Work, Setup, and Real Expectations
Go deeper: Work From the Road hub · Mobile Office Checklist · Remote-Work Data Usage Calculator

Written by Jeremy Jarvis
Jeremy Jarvis is the founder and editor of Freedom Road Living, where he builds research-based guides and free planning tools for people who live, work and travel in an RV. He sets the site's editorial standards, checks every guide against official sources such as the National Park Service and manufacturer documentation, and is responsible for corrections. Jeremy also founded Eco Nomad Travel, Mind Clarity Hub, SilkHarborTravel and WanderOza Travel, and he is the author of books on clarity, focus and practical AI, including The Power of Clarity and Digital Clarity.