
RV Covers Guide: Choosing, Measuring and Installing a Cover That Protects Your Rig
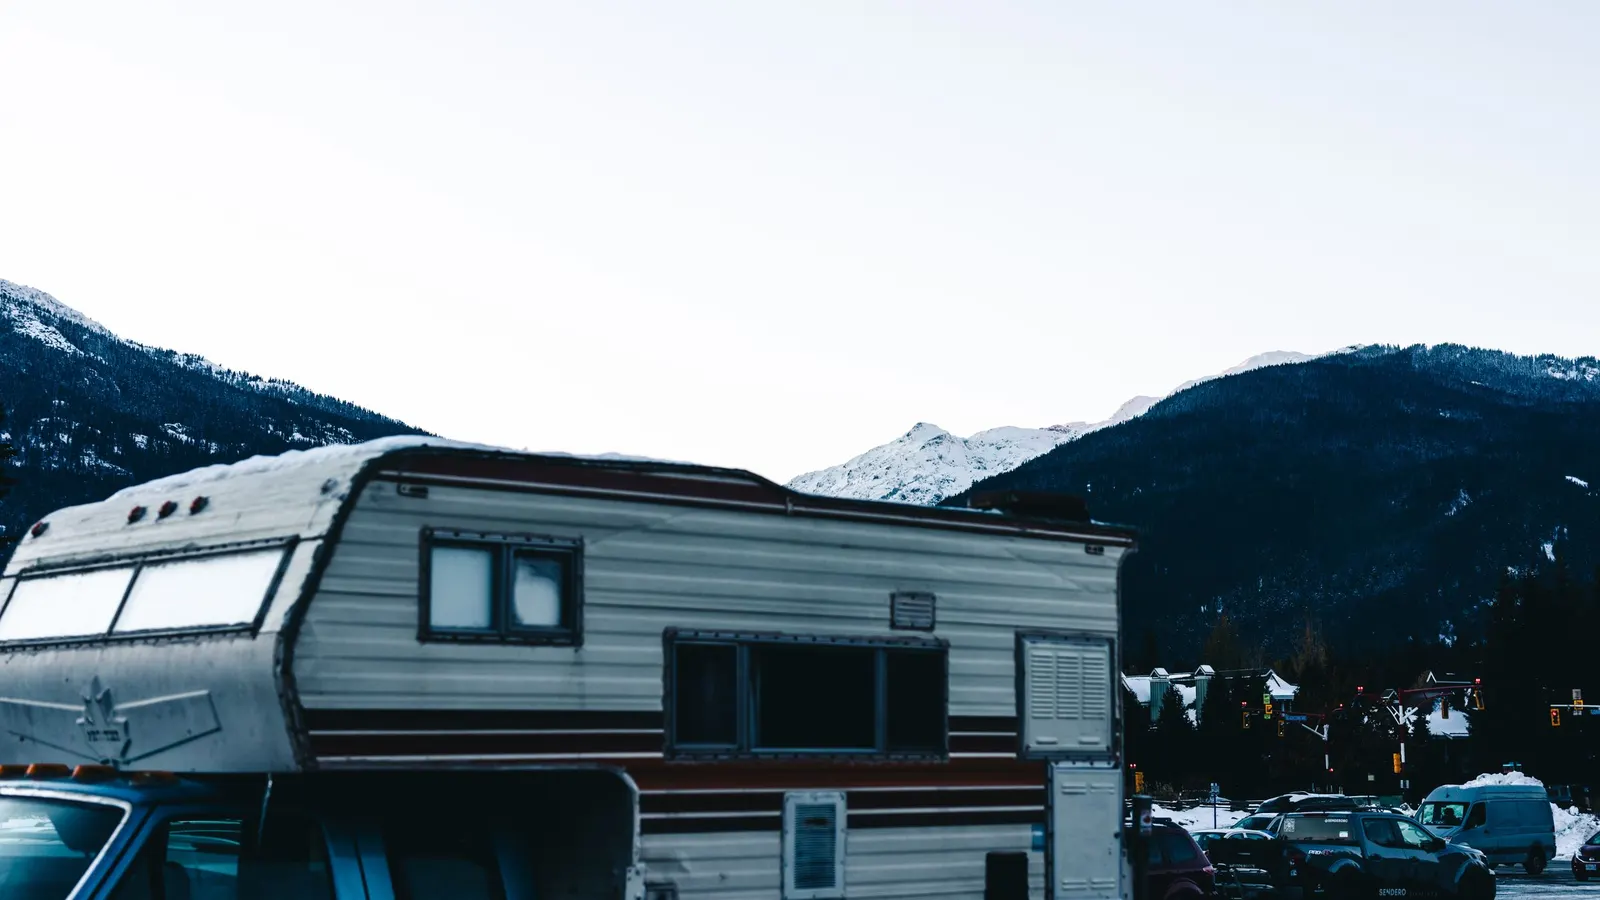
Sun, rain, snow, tree sap and bird droppings all take a toll on an RV parked outside. Over months and years, UV light fades paint and graphics, dries out rubber seals and roof membranes, and cracks plastic vents. RV covers are the simplest way to slow that damage when you cannot store your rig indoors. But a poorly chosen or badly installed cover can trap moisture, scratch the finish or tear itself apart in the wind. This guide explains how to choose the right camper cover or travel trailer cover, how to measure each type of RV, how to install it safely and how to prepare your rig for storage.
Last reviewed and updated: September 30, 2026. Written by Jeremy Jarvis.
Key takeaways
- RV covers protect against sun, rain, snow and debris when you do not have covered storage.
- Breathable fabric matters: RV Life notes it helps prevent mold and mildew while outer layers block UV, rain and snow.
- Measure by RV type; Camping World says a travel trailer cover length includes the bumper or ladder but not the tongue.
- A cover that is too big flaps in the wind and can do more harm than good, so fit and straps matter.
Whether you need a travel trailer cover for a small pop-up or a full cover for a long Class A motorhome, the same principles apply. Choose a breathable fabric, buy the right size, protect sharp edges and keep the cover tight.
Are RV covers worth it?
For many owners, yes. According to RV Life, if you do not have access to a covered storage facility, an RV cover is one of the most effective ways to shield your rig from sun, rain, snow and debris. RV Life adds that covers can even help preserve tires, skylights and roofing material. In other words, a cover protects the exact parts of an RV that are most expensive to repair.
However, a cover is not the best option for everyone. Camping World notes that the best place to store an RV in winter is inside a garage, an indoor storage facility or under a carport. If you have access to one of those, it will usually protect better than any cover. Likewise, if you use your RV every weekend, putting a cover on and taking it off each time may be more trouble than it is worth. RV covers make the most sense when the rig sits outside for weeks or months at a time.
What an RV cover protects
In practice, an RV’s exterior faces constant exposure. Here is what a good cover helps protect:
Free download: The Full-Time RV Launch Checklist
Our 16-page planner: a 12-month countdown, inspection checklist, budget and weights worksheets and a maintenance calendar. Free and printable.
- Roof membrane and sealants: UV light and heat dry out roof materials and sealants over time.
- Paint, decals and fiberglass: sun fades graphics and chalks gelcoat.
- Rubber seals and window gaskets: these crack and shrink with sun exposure.
- Vents and skylights: plastic becomes brittle in the sun.
- Tires: UV and ozone age rubber even when the RV is parked.
- The whole exterior: from sap, bird droppings, leaves and dust.
Because a cover reduces how much sun and water the roof sees, it can also lengthen the time between some maintenance jobs. Even so, you still need to inspect the roof and reseal it as your RV maker recommends. A cover slows wear; it does not replace maintenance.
RV cover materials compared
RV Life notes that materials range from lightweight polypropylene to heavy-duty vinyl, each with pros and cons in durability, breathability and ease of use. The table below summarizes the common choices.
| Material | Strengths | Trade-offs | Best for |
|---|---|---|---|
| Polypropylene | Lightweight and breathable | Often entry-level; shorter life in harsh sun | Mild climates, budget buyers |
| Polyester | Versatile, lighter and easier to install | Quality varies by coating | Mid-range, all-around use |
| Multi-layer premium fabrics | Better waterproofing and UV protection | Heavier and bulkier to install | Long-term outdoor storage |
| Vinyl | Highly durable and weather-resistant | Must still allow moisture to escape | Custom covers, harsh weather |
| Mixed materials | Balance of breathability and protection | Price varies widely | Owners wanting a compromise |
Most important, RV Life stresses that breathable fabric prevents mold and mildew, while durable layers protect against UV rays, rain and snow. A cover that does not breathe can trap moisture against the RV, which leads to mildew, stains and even damage. ADCO, one of the best-known cover makers, describes its covers as using breathable fabrics along with materials designed to shield against harsh sun, heavy rain and snow. Finally, RV Life advises matching the fabric to the climate where you store your RV.
Camper cover features that matter
Beyond fabric, a few features make a cover much easier and safer to use. Camping World highlights two in particular. First, zippered entry panels let you get inside the RV with the cover still in place, which is handy for checking on the rig or grabbing something from storage. Second, edge guards prevent sharp objects, such as ladder caps and rain gutter spouts, from poking through the cover.
Other features worth looking for include reinforced corners, adjustable straps that run under the RV, elastic hems front and back, and side vents that let air move through. In addition, ADCO mentions slip-seam strapping and reinforced panels as part of how its covers achieve a secure fit. A cover that fits tightly and stays put lasts longer and protects better.
How to measure for RV covers
Camping World points out a common challenge: an RV cover is not specific to your make and model, but to its size and type. Therefore, you need to measure carefully. The correct method varies by RV type. Also, Camping World’s technician tip notes that most manufacturers already include air conditioners, vents and antennas in their size guide, so you usually do not need to add them to your height measurement. Always check the specific maker’s guide, though, since methods vary.
Measuring for a travel trailer cover
For a travel trailer cover, Camping World says you need two measurements: length and height. The length includes the rearmost point, whether that is the bumper or the ladder, but not the tongue. Measure height from the bottom of the frame to the roof. Then choose the size range in the maker’s chart that includes your length.
Fifth wheels
Fifth wheel covers follow a similar approach. Measure length and height as for a travel trailer, and note the front cap and overhang. Many fifth wheel covers are cut with extra height and length to fit over the raised front section.
Motorhomes
For Class A, Class B and Class C motorhomes, measure from the front bumper to the rear bumper or ladder, whichever sticks out farther, and follow the maker’s guide for height. For Class C models, check whether the cover fits over the cab-over section.
Pop-ups and truck campers
Pop-up and truck camper covers are sized differently. Pop-up covers fit the folded camper, while truck camper covers fit the camper alone or the camper on the truck. Again, follow the specific maker’s instructions.
When in doubt, round to the size range that includes your length rather than going much larger. As RV Life warns, a cover that is too big is liable to fall off and will flap in the wind, which can do more harm than good.
Preparing your RV before covering it
How you prepare the RV matters as much as the cover itself. Follow these steps before putting the cover on:
- Wash and dry the RV. Dirt under a cover rubs against the finish when the fabric moves.
- Make sure everything is completely dry. Covering a wet RV traps moisture.
- Inspect the roof. Check seals and vents, and fix problems before storage.
- Pad sharp edges. Cover gutter spouts, ladder tops and roof corners with padding or edge guards.
- Close all vents and windows. Leave a little airflow inside if your RV maker recommends it.
- Remove or retract accessories. Fold mirrors, lower antennas and retract the awning.
- Take care of batteries and systems. Follow your storage routine for batteries, water and propane.
If you have solar panels on the roof, remember that a cover blocks their charging. Plan your battery storage with that in mind; our guides to RV solar panels and the RV lithium battery explain storage charging in more detail.
How to install an RV cover safely
Installing a large camper cover is a two-person job, and safety comes first. Never walk on a cover-draped roof, since the fabric hides vents and edges and can be slippery. Instead, work from a ladder and use a pole to push the cover across. Here is a typical approach:
- Pick a calm day. Wind turns a cover into a sail.
- Unroll the cover on the roof from the front. Many covers are labeled front and back; check before you start.
- Work the cover down the sides. Use a pole or a tennis ball tied to a rope to guide the fabric over the edges.
- Fit the corners and hems. Pull the elastic hems around the front and rear.
- Attach and tighten the straps. Toss straps under the RV and tighten them evenly so the cover stays snug.
- Check for rubbing. Walk around and look for spots where the fabric rubs on sharp edges.
RV Life notes that a cover that is too difficult to use may never get used at all, and that some covers come with installation tools or straps for a simpler setup. Choosing a lighter cover, or one with those aids, can make a big difference if you install it yourself.
Wind, snow and long-term storage
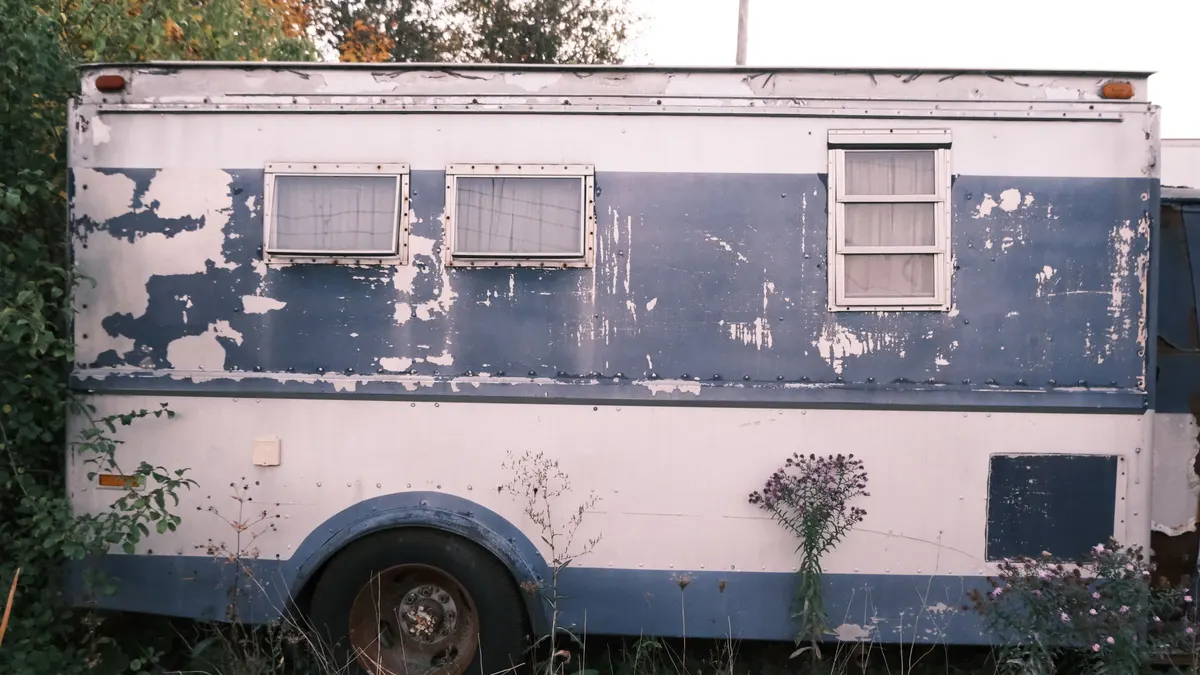
Above all, wind is the main enemy of RV covers. A loose cover flaps, and that constant motion wears both the fabric and the RV’s finish. Therefore, tighten straps after the first few days, since fabric can stretch, and check them after every storm. Also, look for spots where the fabric has begun to wear through near corners or ladder tops.
Snow, on the other hand, brings a different challenge. Heavy snow can stretch the cover and press it into the roof, and melting snow can pool in sagging spots. For that reason, brush off heavy snow from the ground with a soft broom if you can do so safely, and never climb on a snow-covered roof. Camping World notes that winter covers need features specifically designed to handle harsh winter conditions, so choose one made for your climate if you store the RV through winter.
Finally, check under the cover now and then during long storage. Look for moisture, pests and any new leaks. A quick inspection every few weeks catches problems before they grow.
Removing and storing the cover
When it is time to travel again, remove the cover on a dry, calm day. Loosen all straps, then pull the cover off from one end, folding it as you go. If the cover is wet, dry it fully before packing it away, because a damp cover stored in a bag will mildew. Next, fold or roll it neatly and store it in its storage bag. Finally, check for any tears or worn spots and repair them before the next season. Many makers sell repair patches for their fabrics.
Tire covers, windshield covers and other options
A full cover is not the only way to protect your RV. Tire covers shield tires from UV light, which ages rubber even when the RV is parked. For tire care beyond covers, see our guide to the RV tire pressure monitoring system. Similarly, windshield covers protect the dash and seats of a motorhome from sun, and propane tank covers protect tanks and regulators. ADCO, for example, sells windshield shields and propane tank covers alongside its full RV covers.
If you store your RV long term and the budget allows, a carport or covered storage space may be worth considering instead. Camping World notes that indoor storage, a garage or a carport is the best place to store an RV in winter. For many owners, though, a quality cover is the most practical option.
How much do RV covers cost?
Prices vary widely. Camping World explains that the price of a cover depends mostly on size and type, because a large fifth wheel needs far more fabric than a pop-up camper. In addition, all-weather covers cost more than single-season or storage-only covers, and premium features such as zippered panels and extra layers add to the price. As a general rule, a travel trailer cover costs less than a cover for a large Class A motorhome, while pop-up covers are usually the least expensive.
When you compare prices, think about the cost of what the cover protects. For example, resealing a roof, replacing faded decals or fixing water damage can cost far more than a quality cover. On the other hand, a cheap cover that tears in its first windy season is no bargain. RV Life even quotes owners in a hot, sunny climate who found that cheap covers lasted just one season. Therefore, it often pays to buy a better fabric once rather than replacing a budget cover every year.
Choosing a travel trailer cover vs a motorhome cover
Travel trailers and motorhomes need slightly different covers. A travel trailer cover is sized from the bumper or ladder to the front of the body, without the tongue, as Camping World explains. Because the tongue, propane tanks and battery box are left outside, many owners add separate covers for propane tanks and the tongue jack. Similarly, the trailer’s tires sit outside the cover’s hem, so tire covers are a smart addition.
Motorhome covers, in contrast, must fit around the cab, mirrors and the front cap. Many have zippered panels near the driver’s door so you can start the engine during storage, which some owners do to keep the engine and generator healthy. In addition, a windshield cover under the full cover adds extra protection for the dash. For a Class C, also make sure the cover fits over the cab-over bunk without stretching. Whichever type you own, check the maker’s size chart carefully, because each brand cuts its covers a little differently.
RV covers buying checklist
- Choose a breathable fabric suited to your climate.
- Measure length and height by your RV type.
- Pick the size range that includes your length; avoid oversizing.
- Look for zippered entry panels and edge guards.
- Check for strong straps and reinforced corners.
- Consider the weight of the cover if you install it alone.
- Add tire and windshield covers if needed.
To compare current options, you can browse travel trailer covers, motorhome covers and RV tire covers on Amazon, then check each cover’s size chart against your measurements.
Common RV cover mistakes
- Covering a wet or dirty RV. Moisture and grit damage the finish.
- Buying a cover that is too big. It flaps and wears the RV.
- Using a non-breathable tarp. Tarps trap moisture and can scratch.
- Skipping edge protection. Sharp edges tear through fabric.
- Walking on a covered roof. Use a ladder and a pole instead.
- Forgetting to retighten straps. Fabric stretches over time.
The right RV covers, properly fitted and installed, can protect your rig through many seasons of storage. Choose breathable fabric, measure carefully and keep the cover snug, and your RV will be ready for the road when you are. For more ways to care for your rig, explore our RV Gear hub and RV Living hub.
Frequently asked questions about RV covers
Are RV covers worth it?
If you do not have covered storage, usually yes. RV Life describes a cover as one of the most effective ways to shield a rig from sun, rain, snow and debris, and notes it can help preserve tires, skylights and roofing material.
How do I measure for a travel trailer cover?
Camping World says to measure length and height. Length includes the rearmost point, whether the bumper or ladder, but not the tongue, and height runs from the bottom of the frame to the roof.
Do RV covers cause mold?
A non-breathable cover can trap moisture. RV Life notes that breathable fabric prevents mold and mildew, so choose a breathable cover and make sure the RV is dry before covering it.
Should I cover my RV in winter?
Camping World says the best winter storage is indoors, in a garage or storage facility, or under a carport. If outdoor storage is your only option, a cover made for winter conditions helps protect the rig.
What happens if my RV cover is too big?
RV Life warns that a cover that is too big is liable to fall off and will flap in the wind, which could cause more harm than good. Use the maker’s size guide and tighten all straps.
Sources and how we researched this guide
This guide is research-based. We did not test the covers mentioned. Guidance comes from Camping World’s RV cover buying guide, RV Life’s overview of RV covers and ADCO’s product information. Always follow your cover maker’s size guide and installation instructions. Found something out of date? Tell us and we will check it against the source.
Keep planning
- RV Propane Tank Guide: Sizes, How Long They Last and Safety
- RV Air Conditioner Guide: BTUs, Power, Soft Starts and Upkeep
- Portable Fridge for Camping: How to Choose, Power and Pack One
- RV Trailer Hitch Guide: Hitch Classes, Tongue Weight and Weight Distribution
Go deeper: RV Gear hub · RV Starter Gear Checklist

Written by Jeremy Jarvis
Jeremy Jarvis is the founder and editor of Freedom Road Living, where he builds research-based guides and free planning tools for people who live, work and travel in an RV. He sets the site's editorial standards, checks every guide against official sources such as the National Park Service and manufacturer documentation, and is responsible for corrections. Jeremy also founded Eco Nomad Travel, Mind Clarity Hub, SilkHarborTravel and WanderOza Travel, and he is the author of books on clarity, focus and practical AI, including The Power of Clarity and Digital Clarity.